
Blossom End Rot: How to Save Your Tomatoes
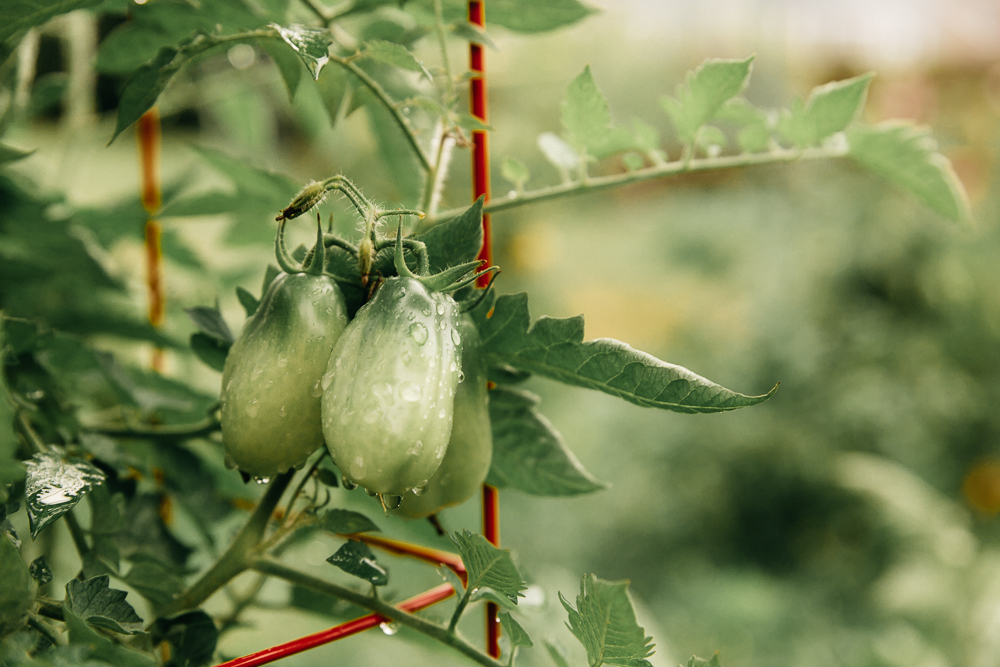
Months ago, when Spring was still grappling with Winter to take her rightful place for the season, I was planting tomato seeds and pouring my heart into growing the perfect seedlings. I mixed my own starter soil, made sure they had enough moisture and light, and even ran my hands over them to strengthen their tiny cores so that they would grow big and strong.
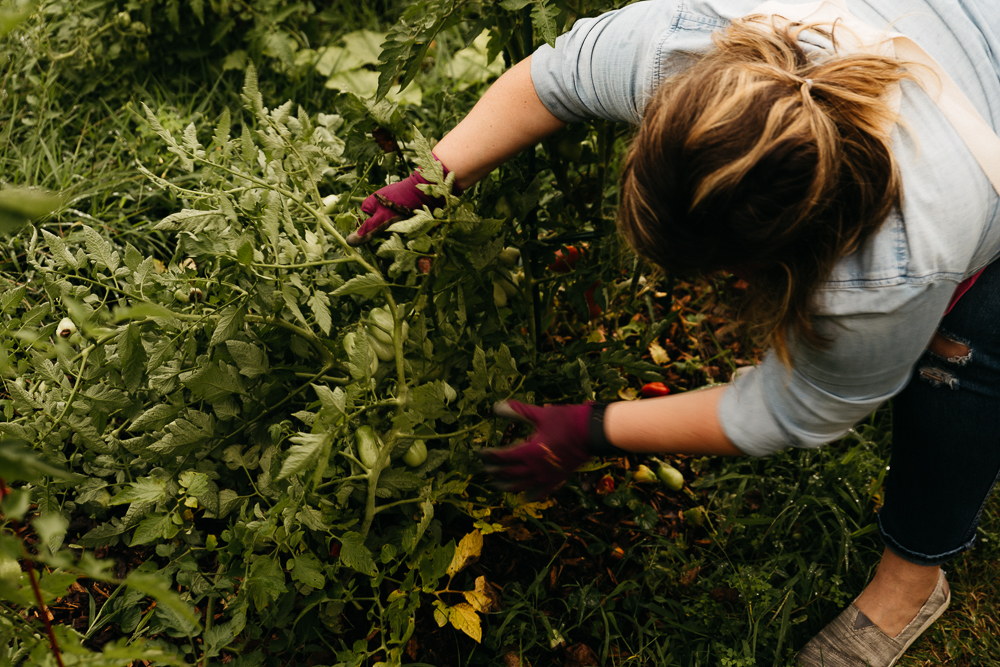
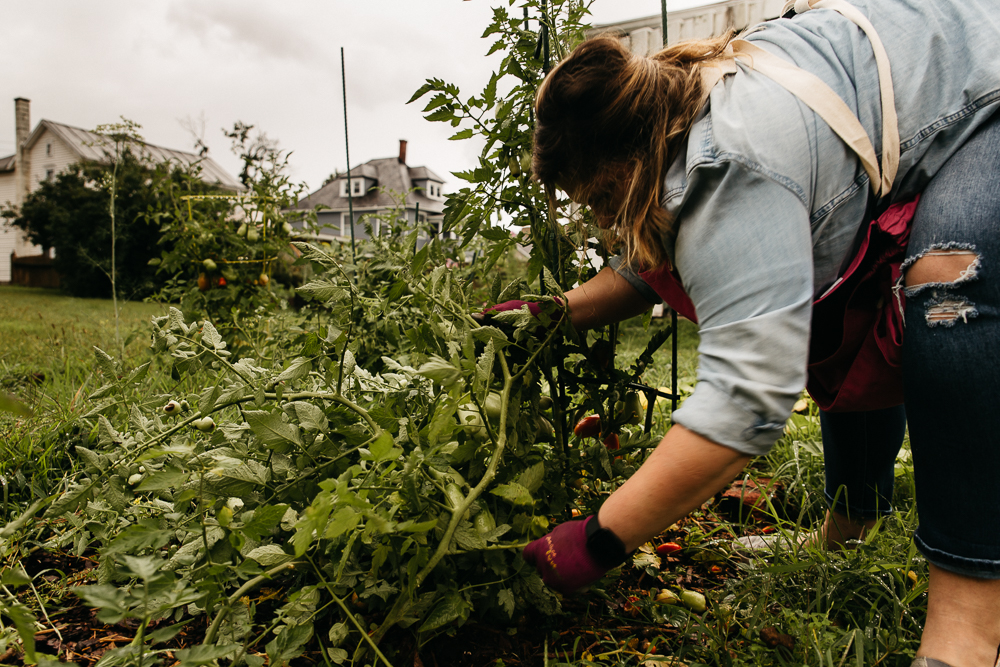
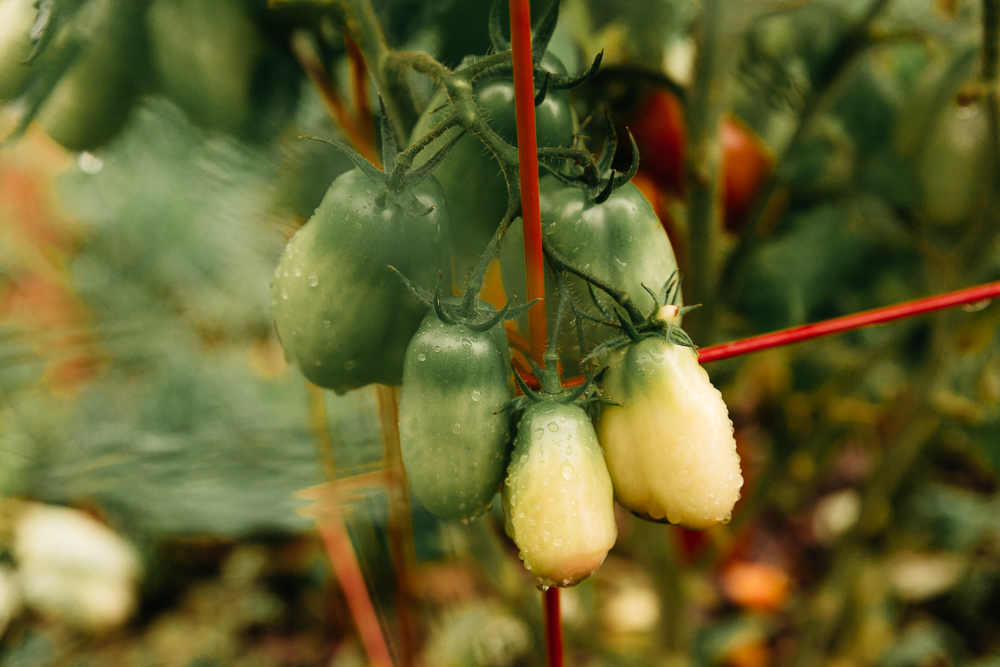
I’ve done my best to keep them staked, pruned and watered…but I have to tell you, Mother Nature has been against me this summer. We’ve had long periods of rain followed by even longer periods of brutal heat and drought. We are currently experiencing 24-hour periods of rain (day 3, over here) and massive flooding. I moseyed out to the garden to see how the tomatoes were holding up. I’ve been spotting a few bright red gems here and there for a day or so now.
I grabbed one of the ripening fruits to check it out and my finger went right through the bottom. Perplexed, I plucked it off of the plant and checked it out. A large black spot was rotted right through the tomato. I’ve grown a variety of tomatoes for years now and have never seen anything like it. I started to investigate further and noticed it was on several tomatoes.
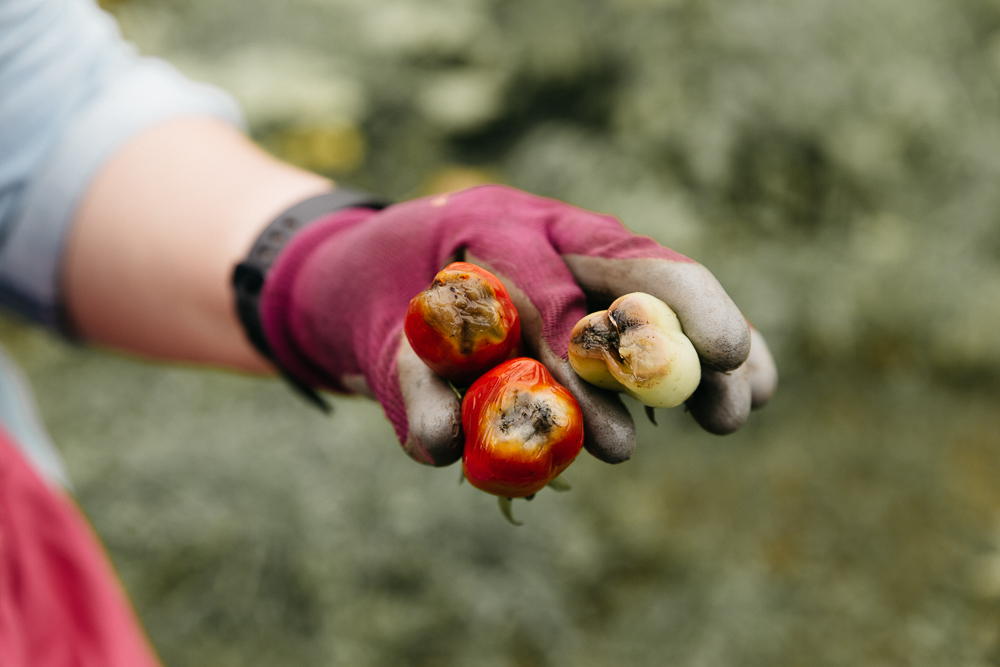

I posted a picture on a social media group for sustainability and soon had almost 50 comments. This is what I was up against:
“Looks like blossom end rot.”
“Blossom end rot. Too late now.”
“Blossom end rot, all is lost.”
“That’s definitely blossom end rot. Sorry UR hard work went to waste.”
I closed my eyes. I didn’t want to read anymore. I was heartbroken…and thanking God this is not how I make my living.
Then I saw these:
“Breathe, Abby. You can fix this. I have had the same problem many times…”
“Not all is lost! It's not your fault…”
“Ugh! It’s the worst, but can totally be fixed…”
And after each boost of hope, they all said the best words anyone in my position could possibly hear…
“Here’s how.”
There were so many suggestions that I felt totally overwhelmed. So, I took the most common from the list and decided I’d split them up between my plants and see what works best.
Before I get into how to fix it, I’d be remiss to educate you a little bit on why blossom end rot happens in the first place. Let’s keep this simple, I’ll just give you the gist:
1. Blossom end rot is not a fungus or disease and it is not going to spread to other fruit. Believe it or not, this is the best news.
2. It’s not caused by bad soil, so don’t freak out about where you’ve planted your tomatoes
3. It does mean that your tomato plants may have too much or too little certain nutrients (like magnesium or calcium). It can also be due to rapid growth, inconsistent watering…the list goes on. See the frustration?
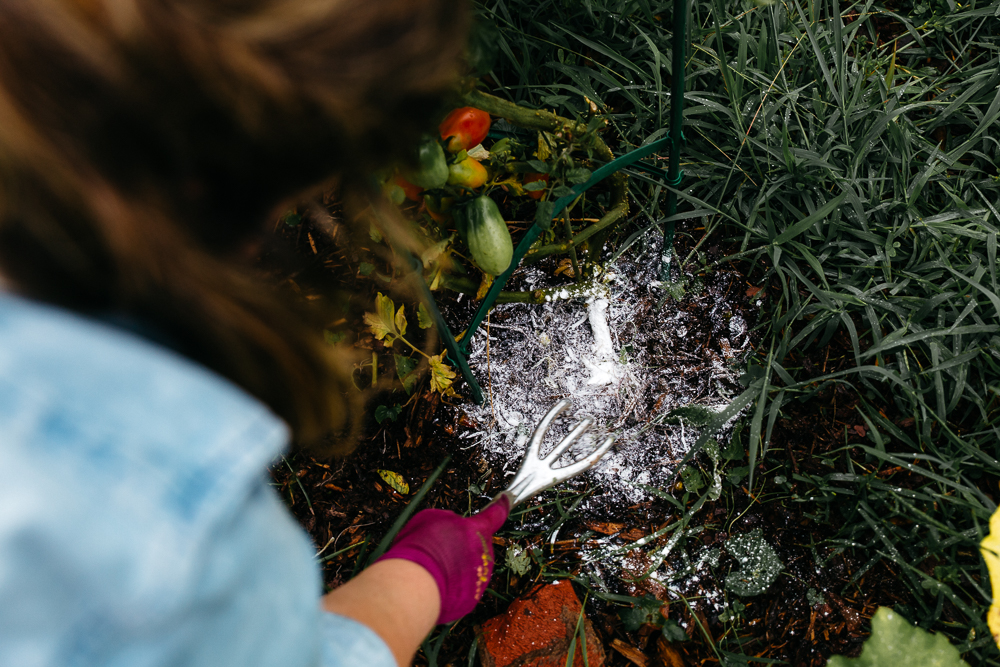
Everyone seems to have had great success using two common items: garden lime and Epsom salts. Before I just tossed stuff on the plants, I wanted to prune them. I needed to rid all five plants of every rotting tomato and you’ll need to do the same. Otherwise, the plant will continue to ship nutrients to the rotting fruit.
Garden Lime or Hydrated Lime - Boy, it’s been a while since I’ve used this stuff. My grandmother battled everything imaginable in her garden using lime. So, what is it and how does it work?

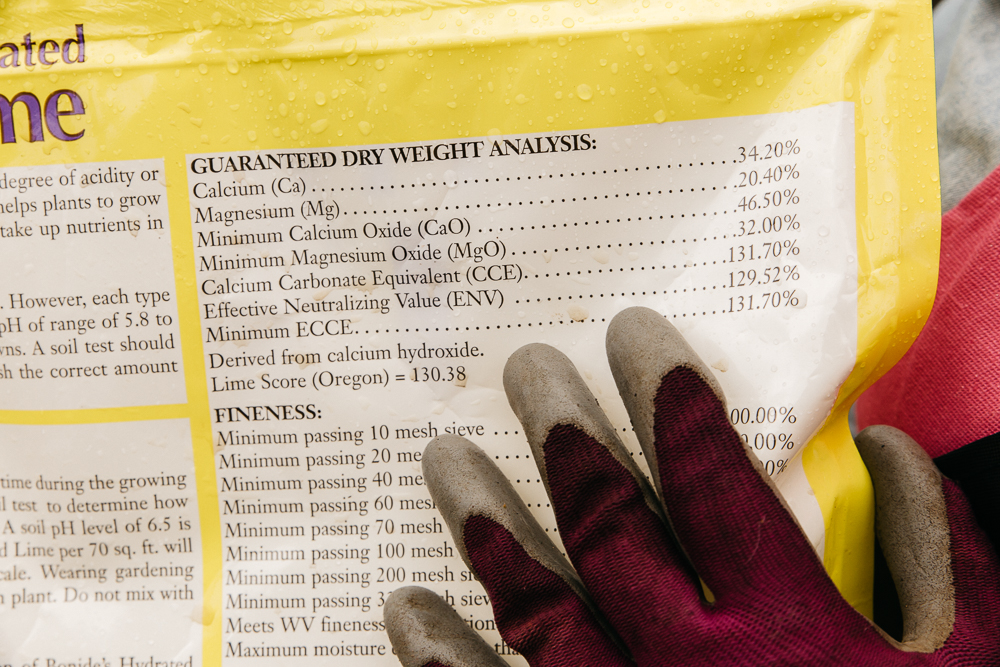
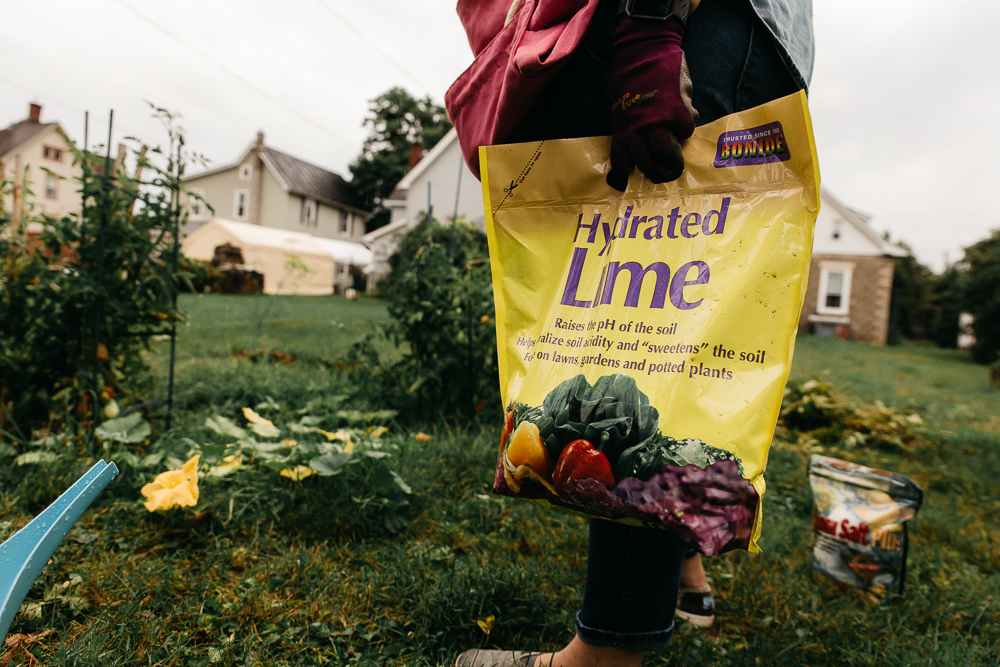
Garden lime is ground limestone. I used Hydrated Lime because it’s more concentrated. While it’s totally natural, you must be careful about using it. Wear gloves and eye protection and be sure not to inhale it. Use it sparingly and try not to get it all over the plant as it can burn the leaves and stalks.
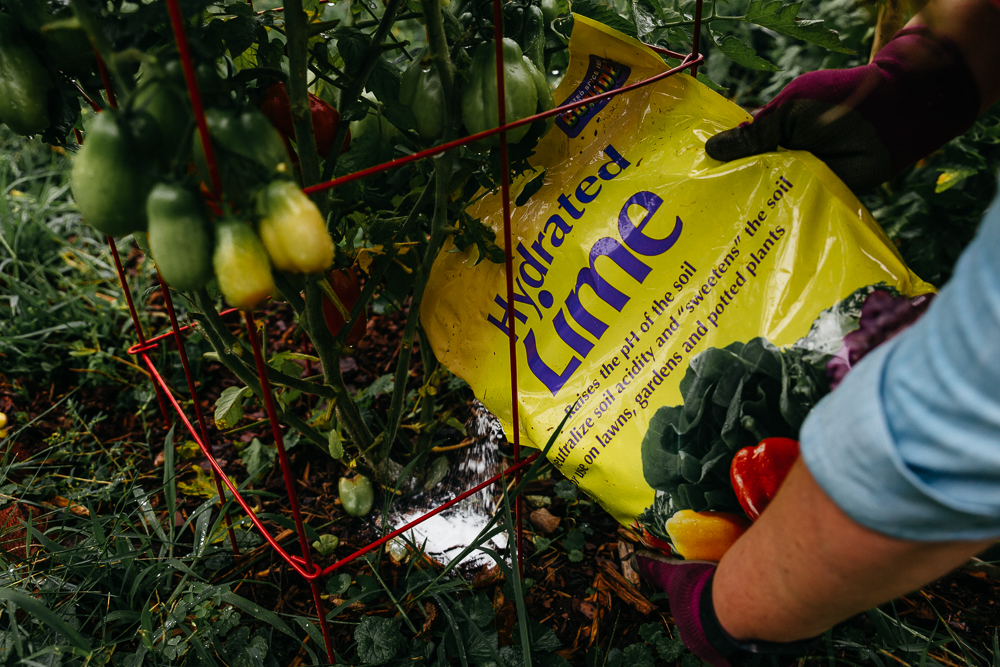
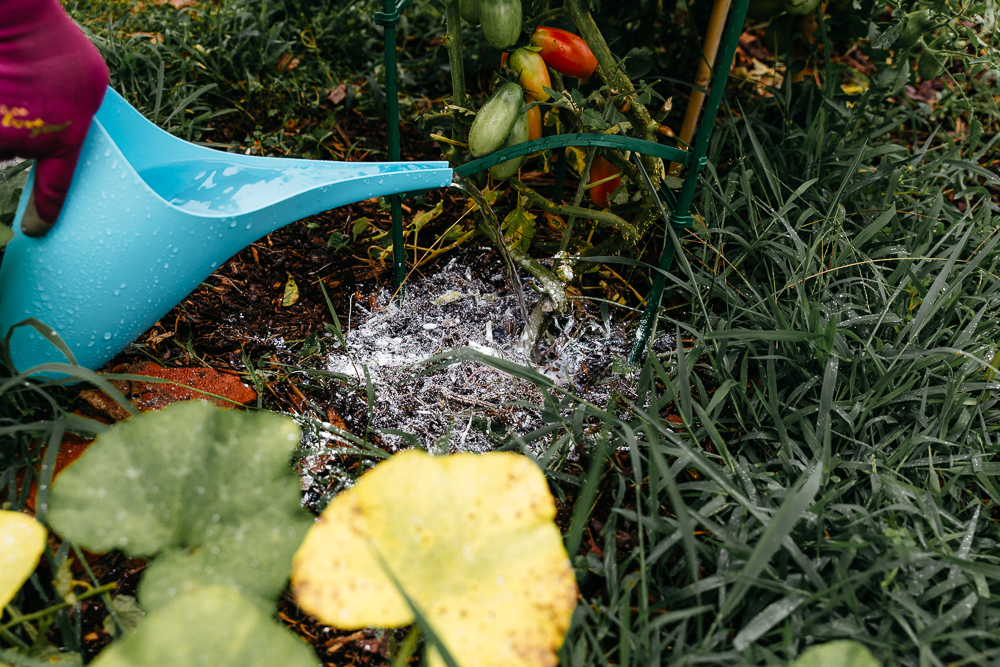
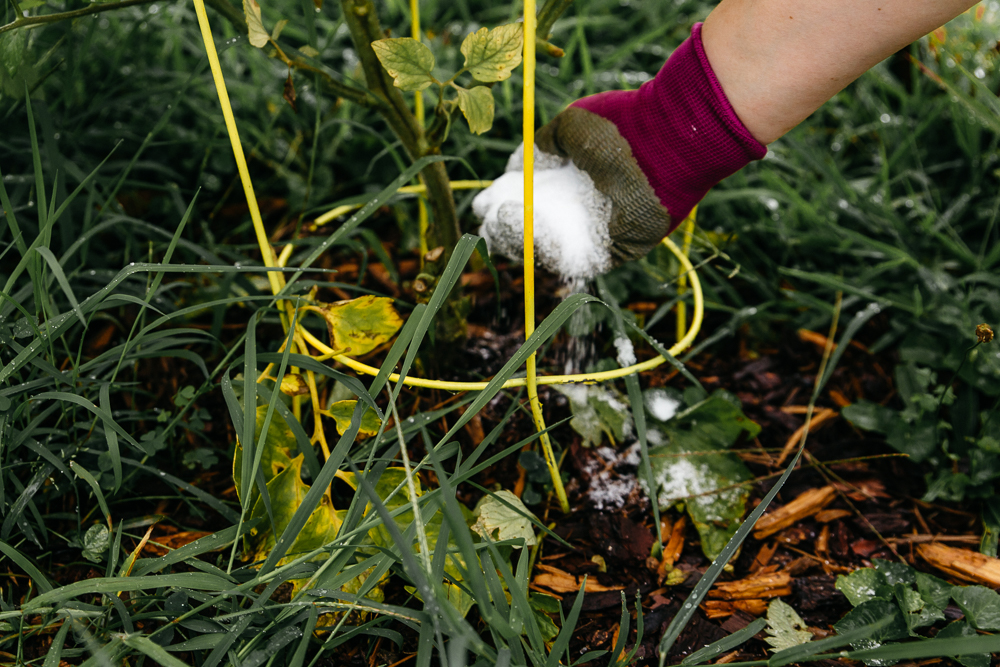
I used a small handful like Gram used to and placed it around the base of the plant, gently mixing it in. I followed that up with applying a little bit of water to ensure it soaked in just where I needed. Since the rain is so treacherous, I may do a smaller reapplication in two weeks if I don’t see any change.
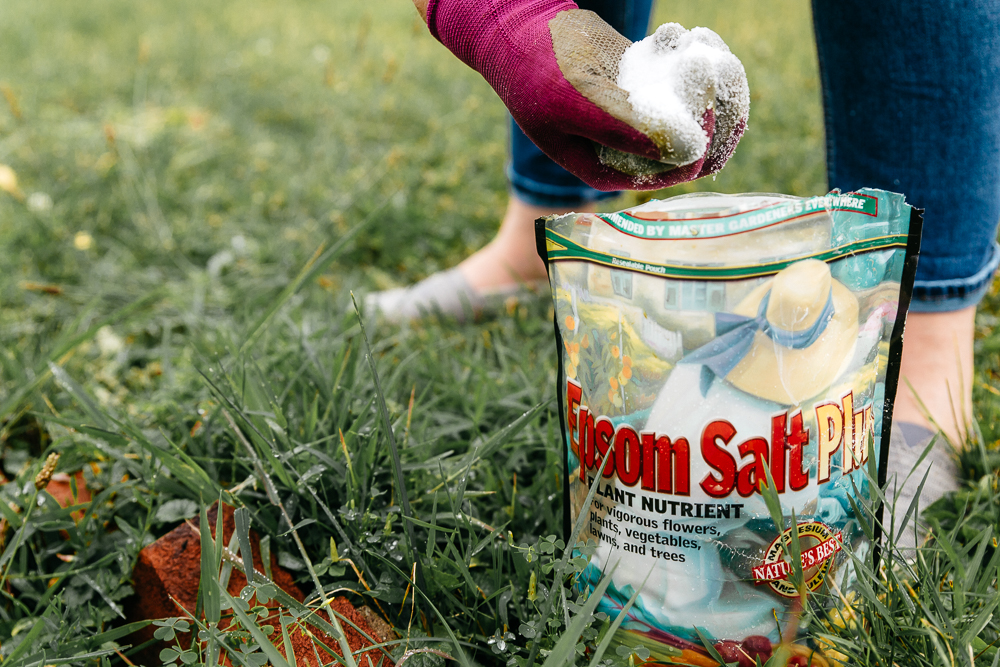
Epsom Salt - That’s right, the stuff you bath in. Its packed with magnesium and sulfur, both are important for growth, chlorophyll production, and flower blossom production. It’s great for tomatoes, peppers, roses and more! And it’s so easy to apply.
Add one tablespoon per foot of plant (mine are about four feet tall) directly to the plant at the root level and water so that it is absorbed. You can also add the same amount to a gallon of water and soak the plant at the base.

Please follow along on social media for updates on my tomatoes and our struggle with blossom end rot. And remember, if you hear about someone struggling with blossom end rot, speak up! Be the one to pass along some encouragement and share a “here’s how” tip! It could make their day…and their harvest!