
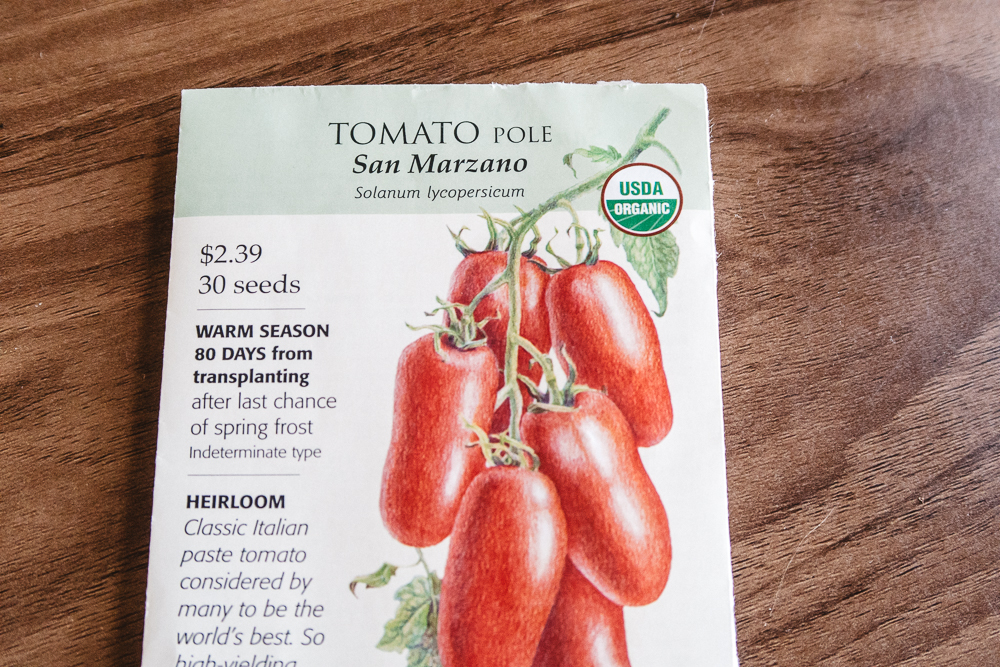
The Heirloom Lady's Guide to Growing Tomatoes from Seeds
Tomatoes are to my kitchen as black is to my wardrobe, plentiful, versatile and perfect for any event. Tomatoes can be tossed in a simple salad or cooked down into a thick sauce decorated with creamy eggs and paired with some crusty garlic toast ready for dipping. This is what I love most about tomatoes. They are the chameleon of the garden, ever-changing and bright with the colors of an evening sky. Not only that, but they are easy to grow from seed, even for those sans green thumb, and are vehicles for good health.
Why grow tomatoes from seeds?
I’m sure you notice that I chitchat about growing organically a lot. I know it creates a lot of eye rolling and hubbub, and that’s okay with me. Growing organic fruits and vegetables is important to me, but what’s more important is that I know where my food came from, how it was grown and can determine what quality of food I get to harvest. See? It’s not all about being organic, it’s about growing your own food and taking control.
Herbicides, pesticides, insecticides, and the like, can often change root structure, the color, texture, taste and overall health of the plant and the fruit it bears. I know this is common sense on some level, but I feel like it’s just not something we think about as often as we should. This summer, pay attention to the tomatoes you are eating. Think about where you got them from, how they were grown and then consider the taste and the color.
Often times it seems that tomatoes that are not organically grown will have often been less bright in color and less flavorful. This is a key indicator that they likely are less nutritious, too. The more they are treated, sprayed and so forth, the more the tomato’s nutrient makeup is affected. In a sense, it’s like the fruit’s nutrients have been diluted.
Tomatoes are rich in Vitamin C, Vitamin A, many other vitamins and nutrients, and are very well known for their Lycopene content. Lycopene, as you may know, is a powerful cancer-fighting antioxidant that enriches a tomato’s color. How crazy is that? Now, consider the abundance of benefits you’d get from an organically grown tomato’s undiluted nutrient and vitamin content and you’ve got a garden full of magic!
What you’ll need to grow tomatoes from seeds:
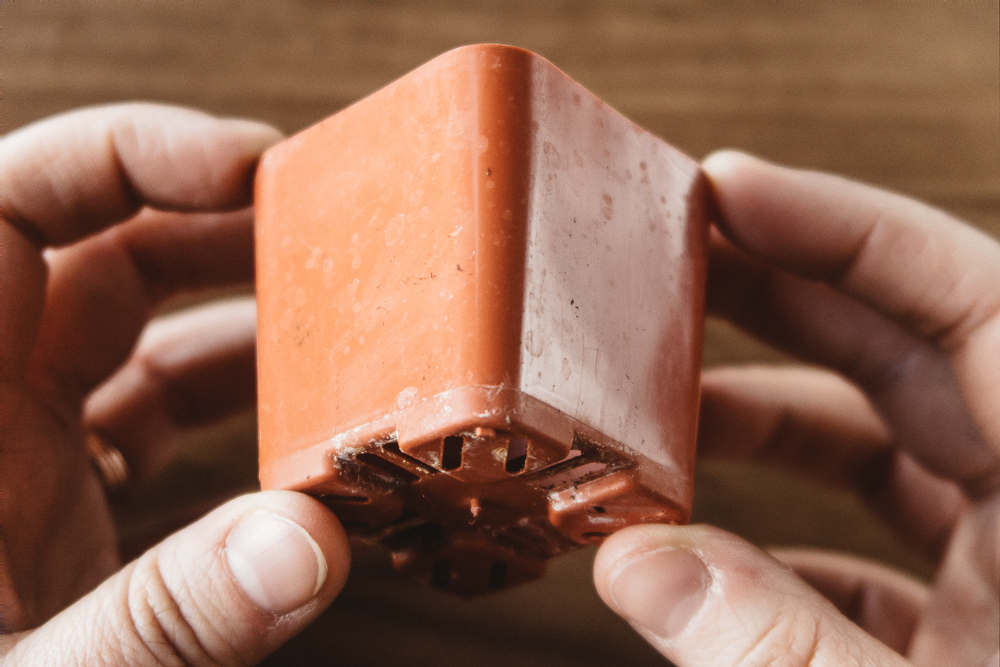
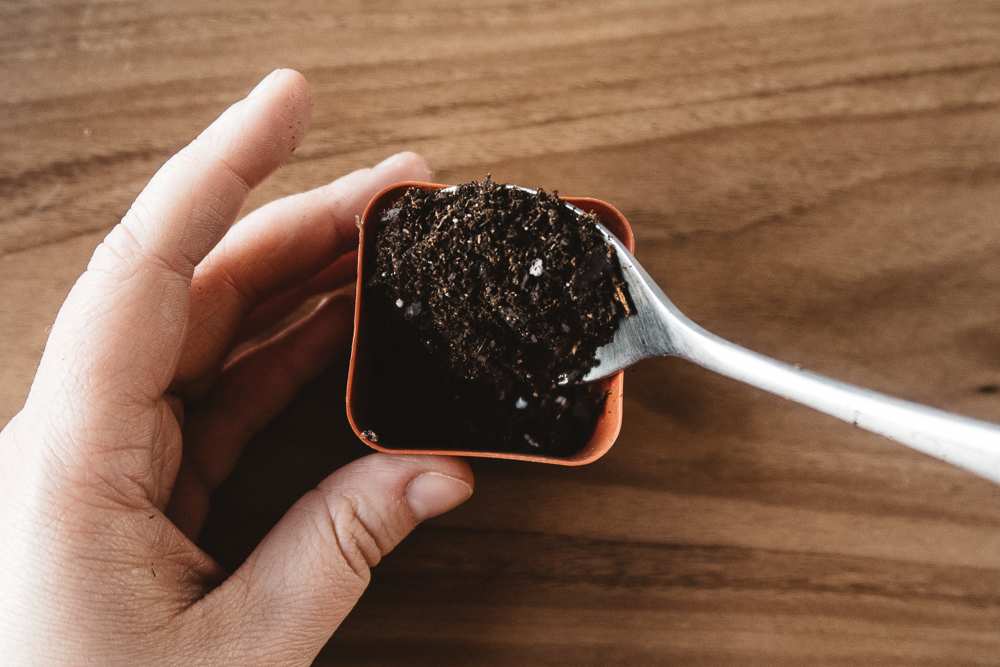
Tiny pots - I always start them in tiny pots because it helps me manage the number of plants I’m growing and allows for ease of movement around the house. You can use plastic ones like I do, or you can start them in peat pots that get transplanted right along with the seedling.
Think about how many plants you’ll need - I always take into consideration the space where I’ll be growing them and how much space a full-sized plant needs. Then, I add about a third of that number to account for the tomato seeds that don’t germinate or for those seedlings that end up being weeded out. I always have extras and I grow them with the intention of giving them away when they are at the transplanting age.
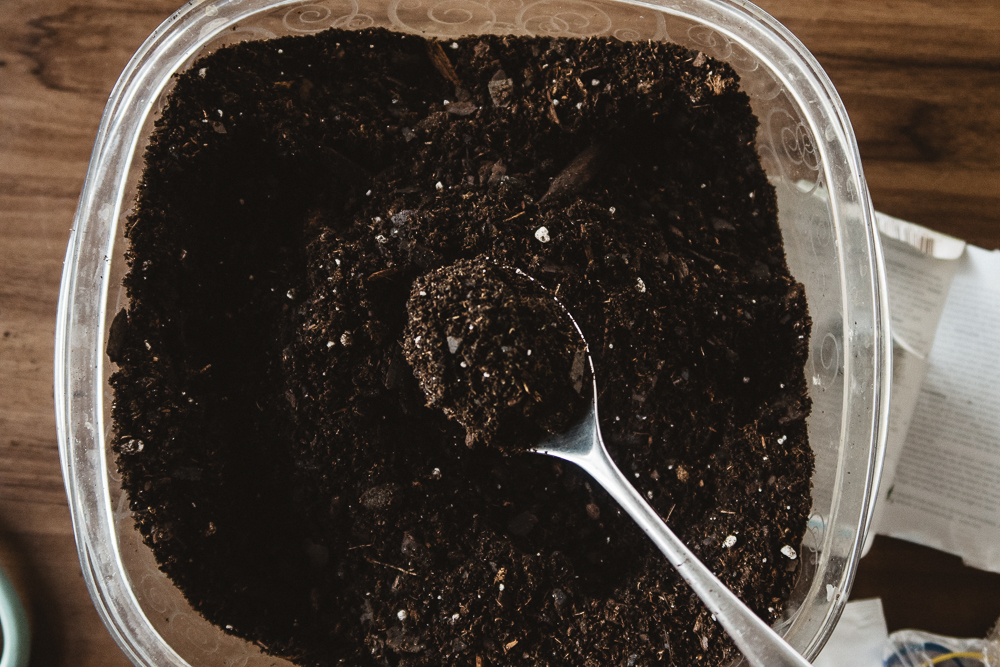
Soil - I like to amend my store bought potting soil (learn about it here), but you’re welcome to use any seed starting soil you’re happiest with.
Planting tomatoes from seeds:
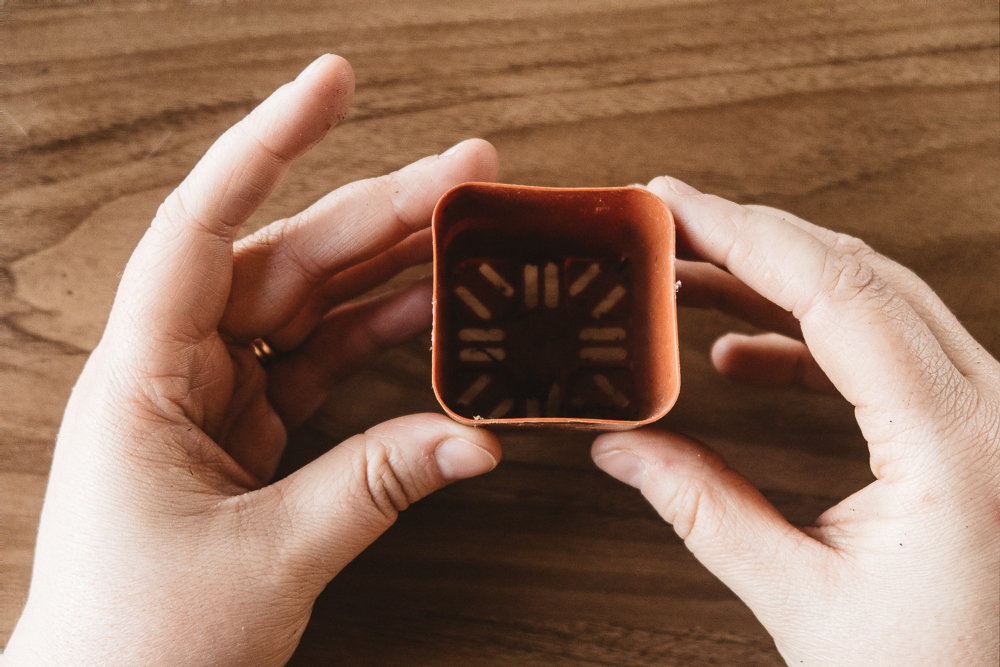
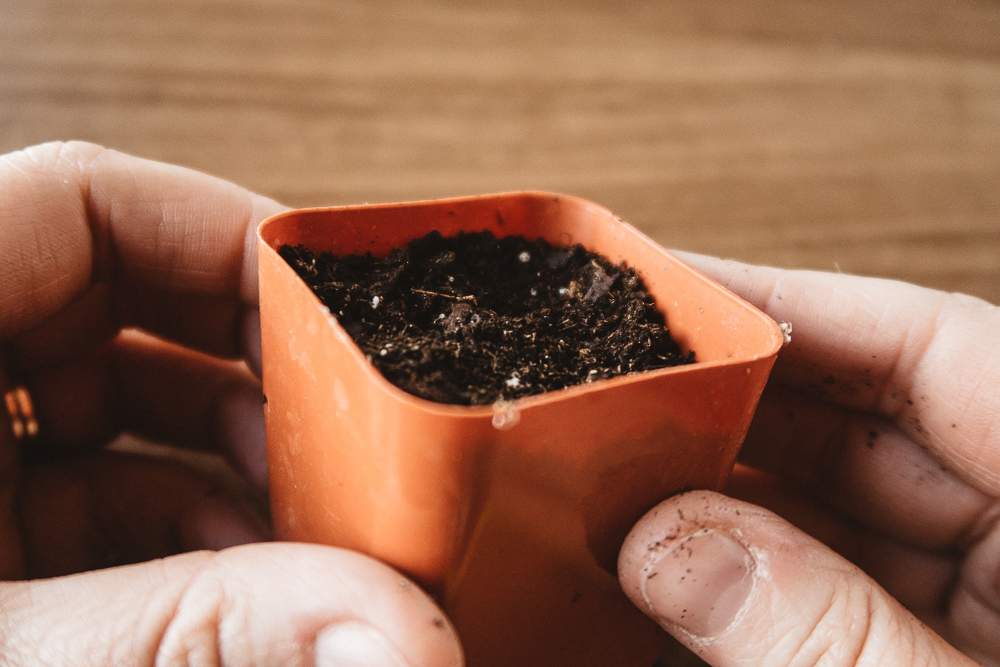
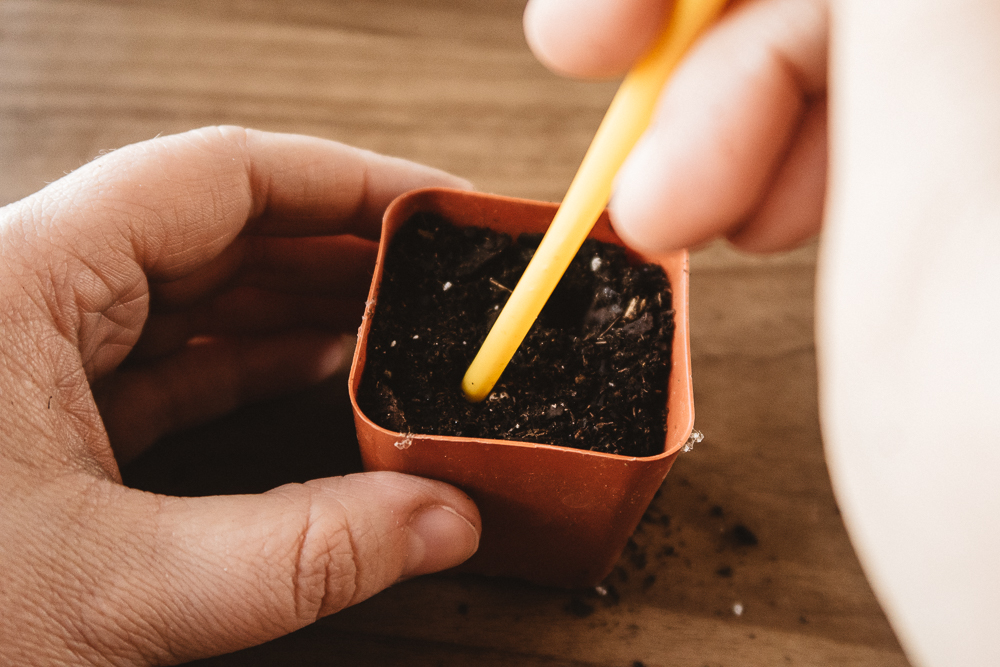
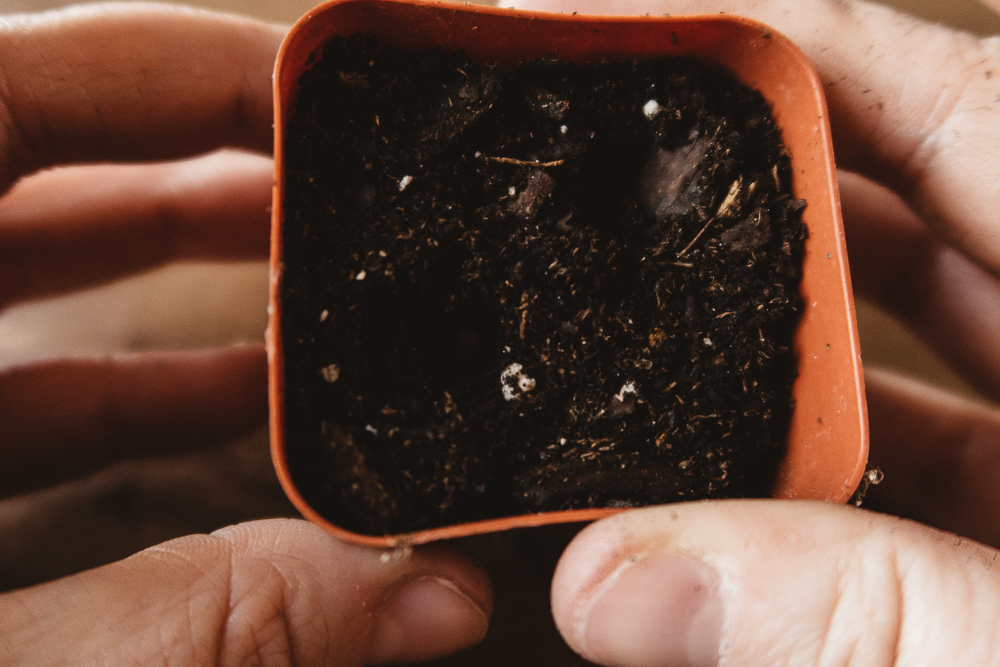
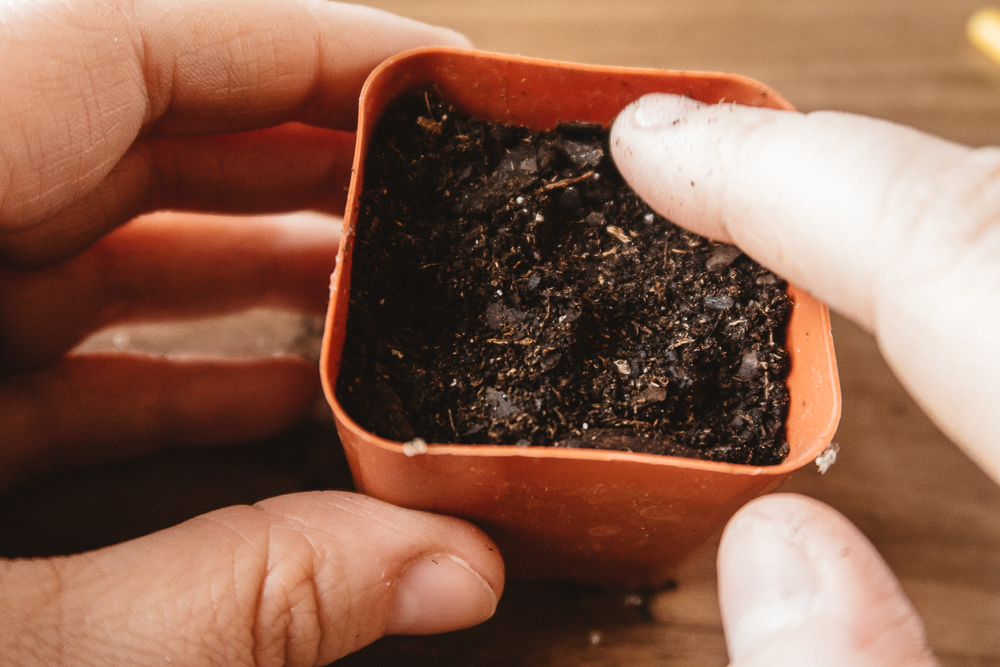
Start by filling your pot nearly full of your seed starting soil.
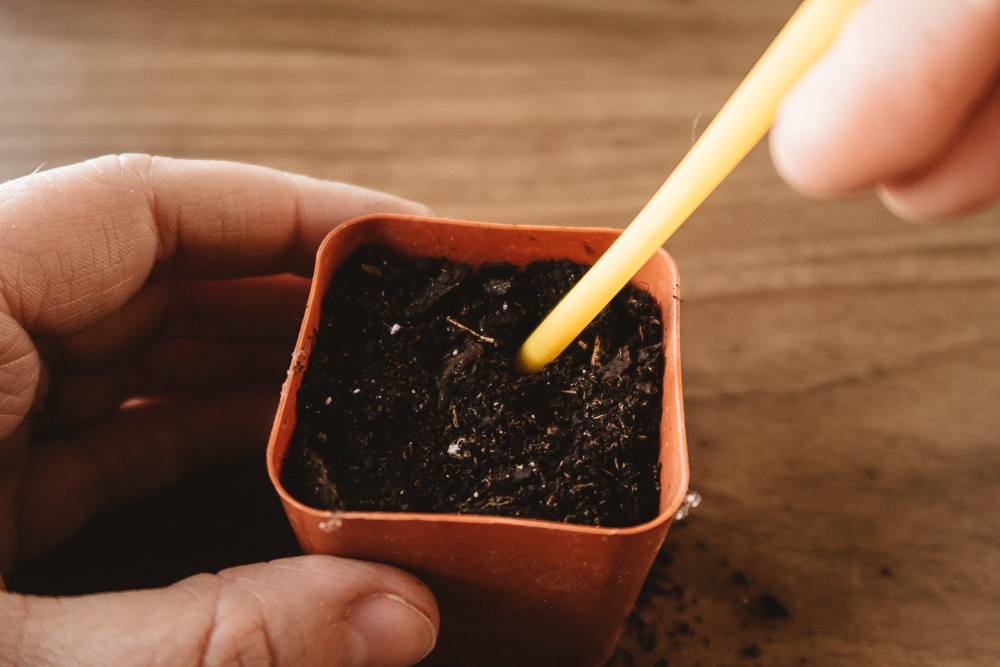
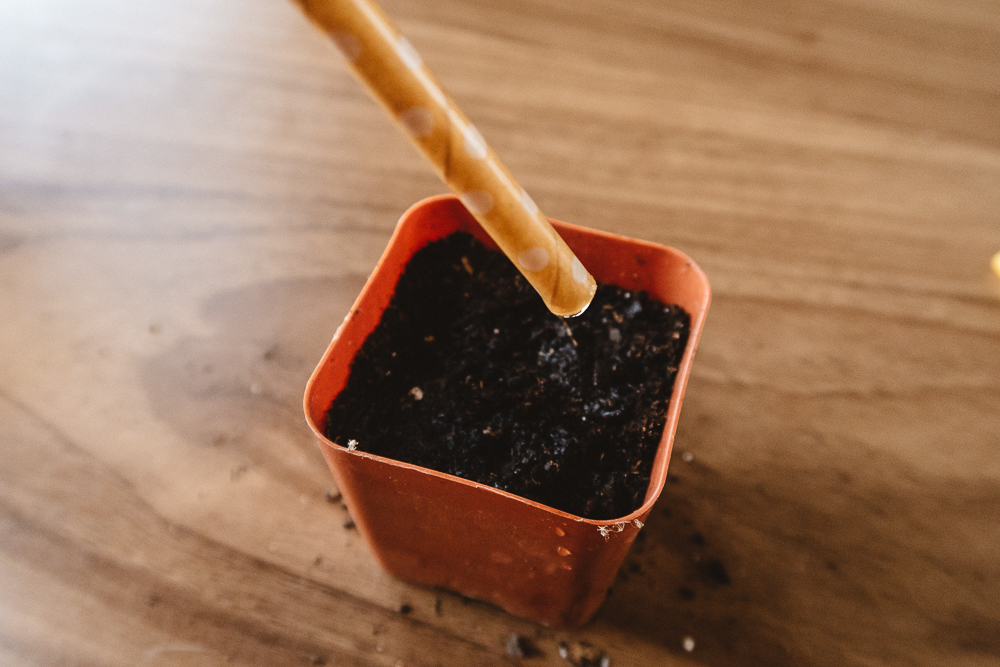
Use a drinking straw to make two or three indentations in the soil. I normally put two in each container. These should be about 1/4 of an inch deep. If you’re worried about getting the right depth, you could measure and mark your straw at the 1/4 inch mark.
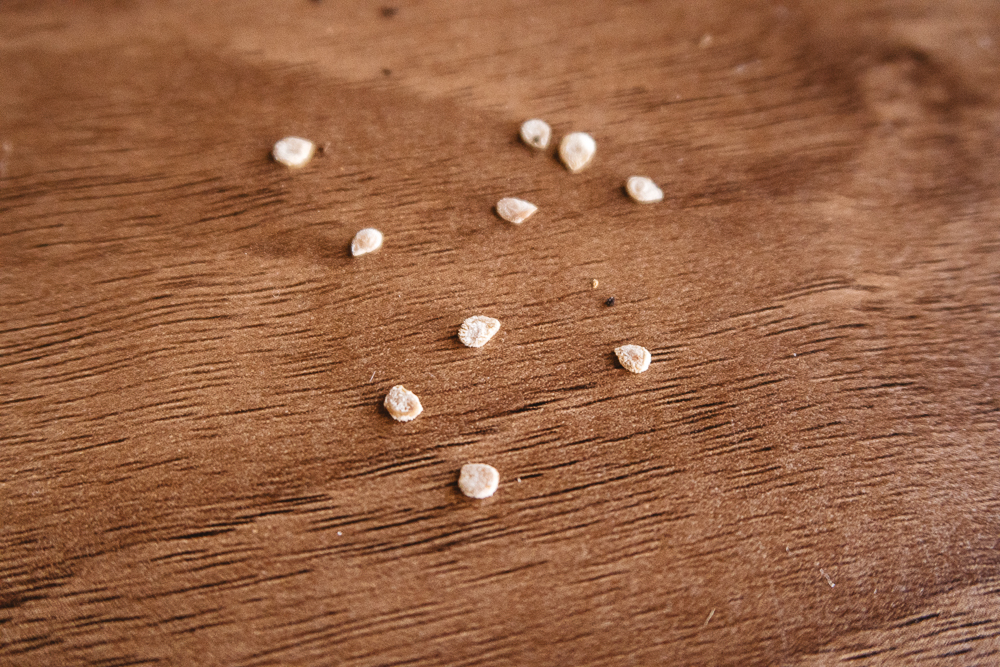
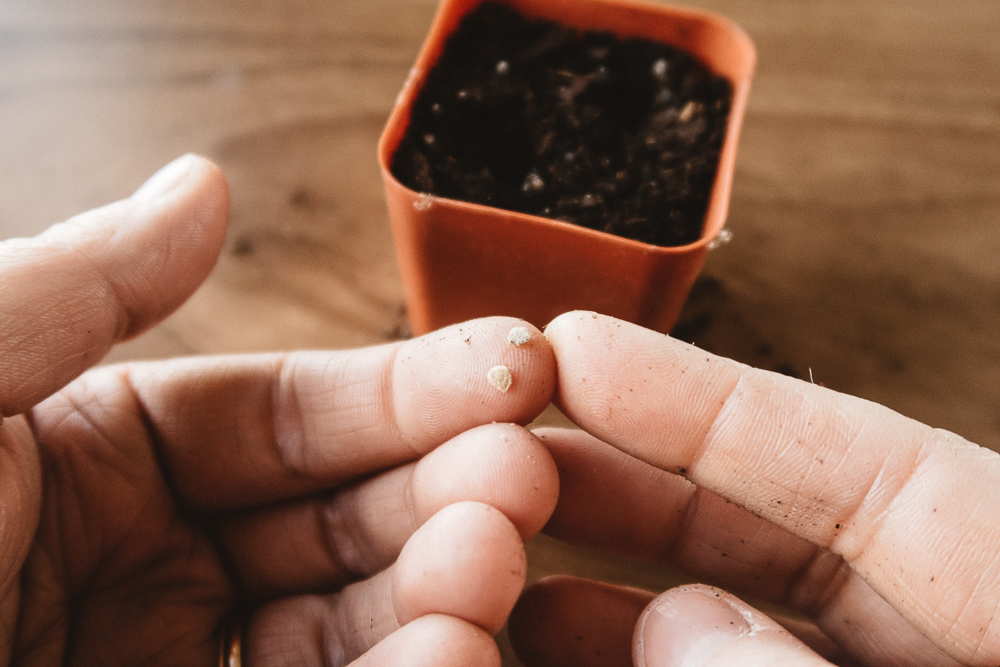
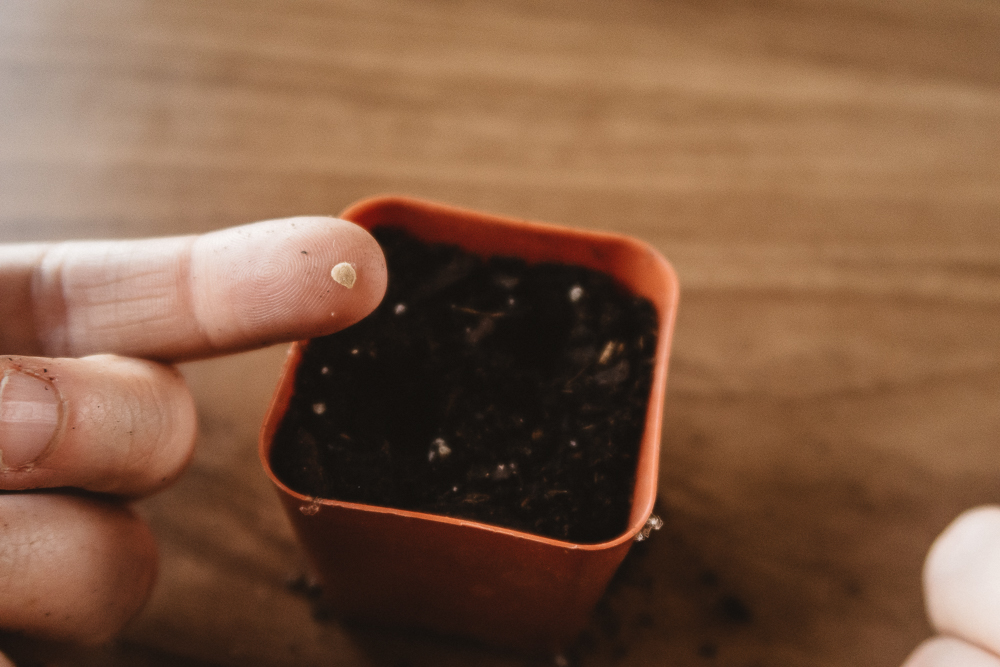
Drop your seeds in each indentation and lightly cover with soil. Next, using your finger very gently tamp it down. Soil to seed contact is key for successful germination.
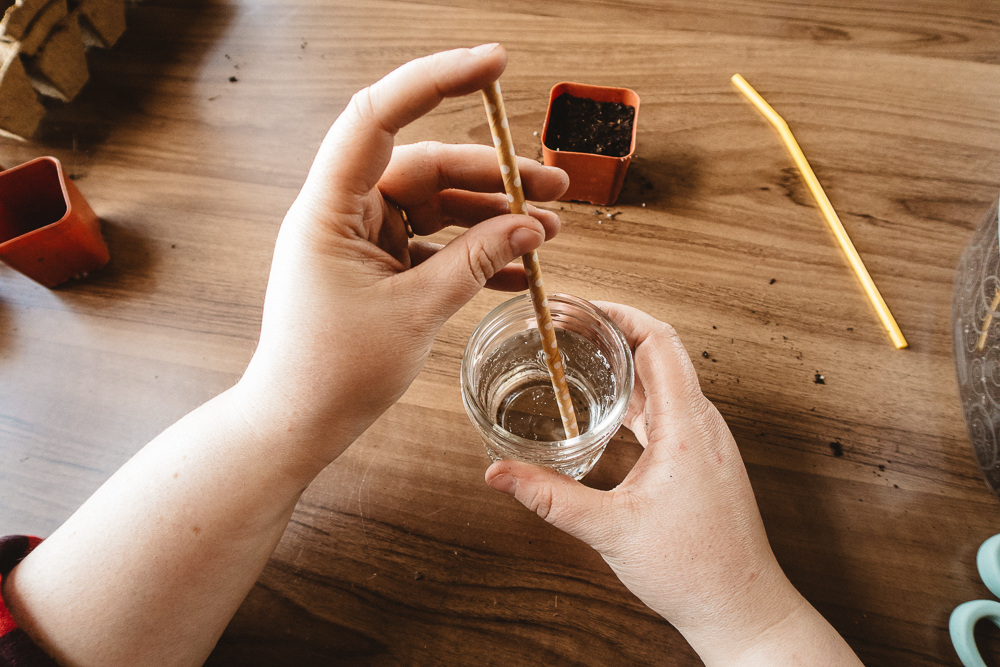
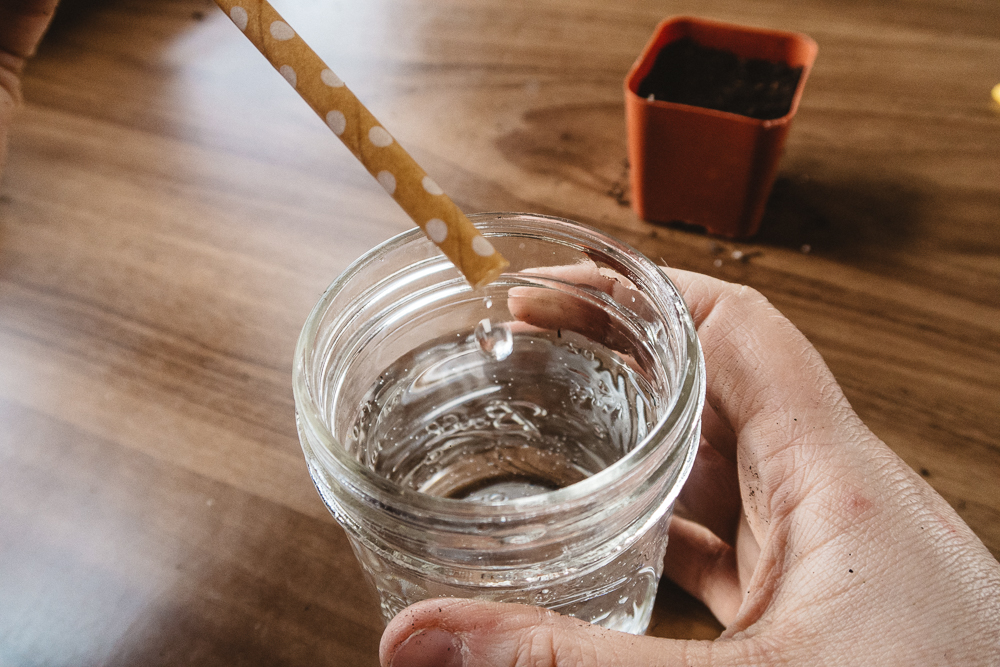
Water thoroughly but make sure you’re gentle about it. Over the years I’ve found that using the straw is the easiest way to do this. I dip the straw and then press my finger on top to hold water in the straw and then light let it out a little bit at a time. This works great for water delicate seedlings too, so as to not flood them or overpower their growing stems.
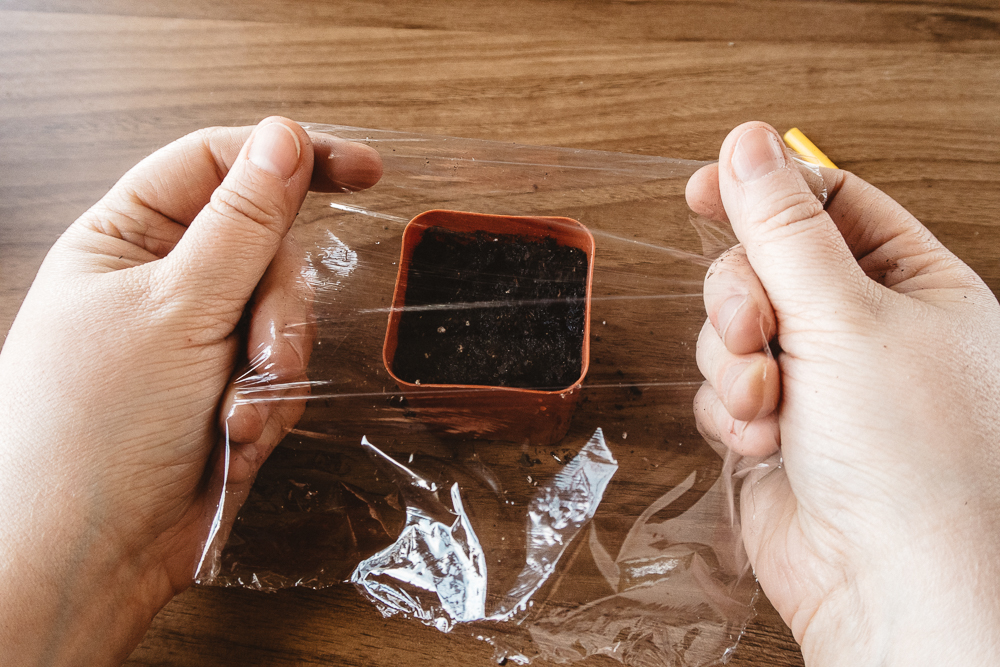
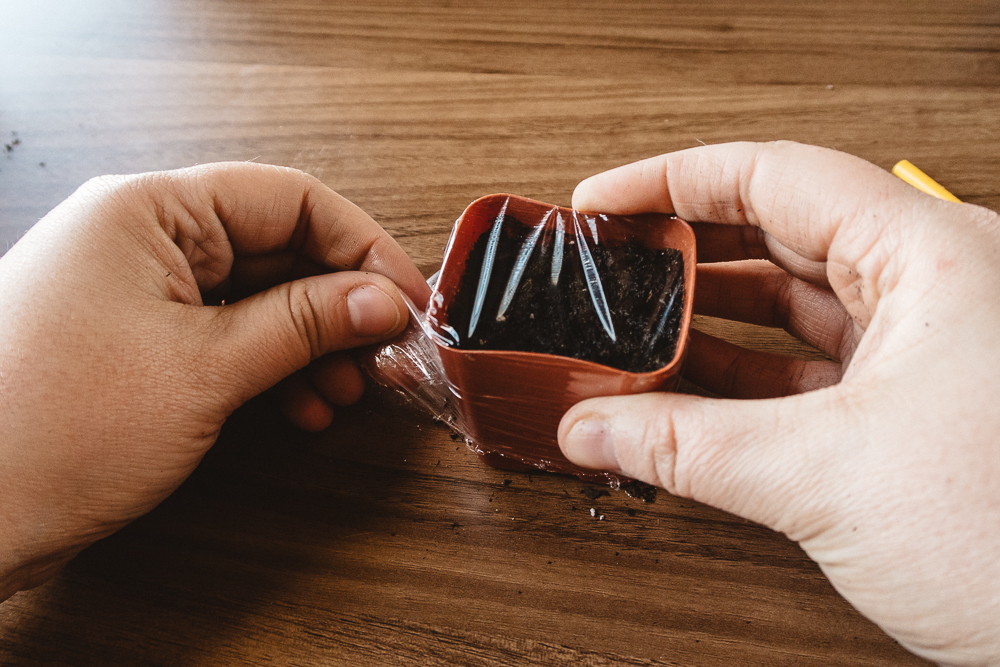
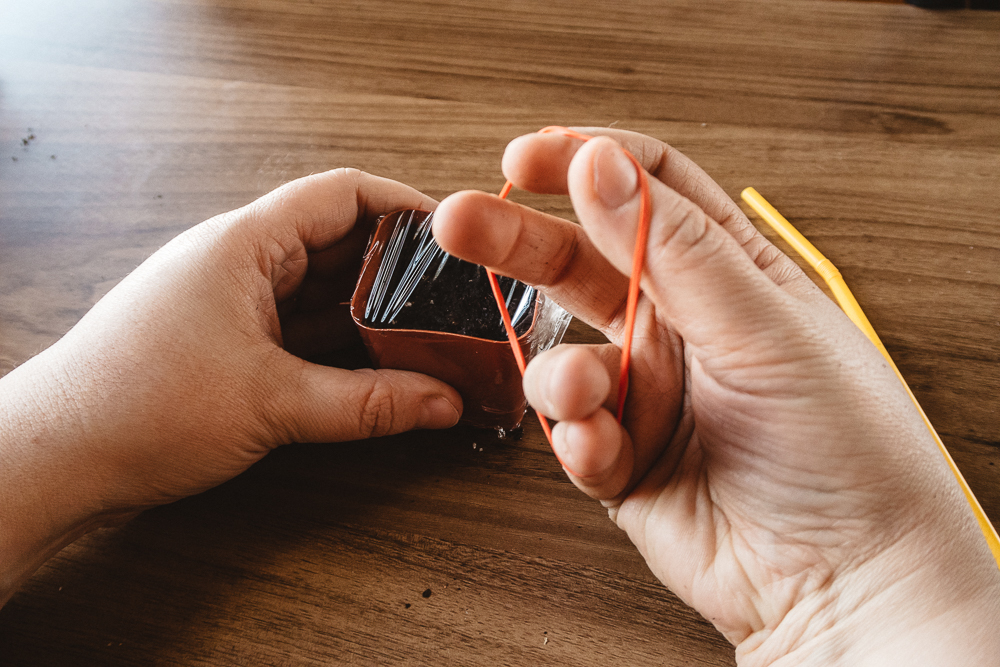
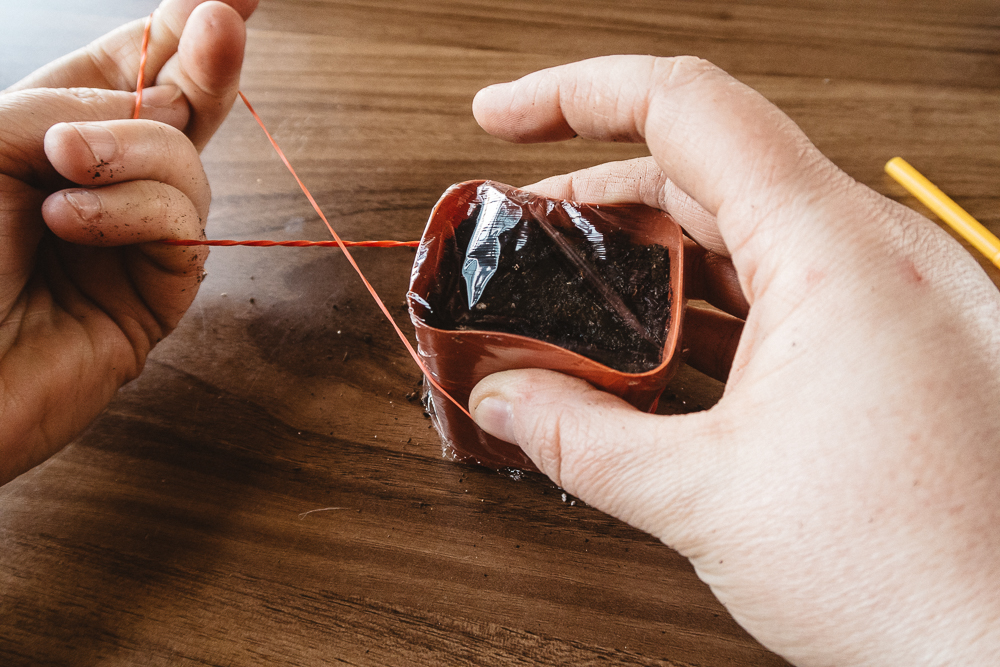
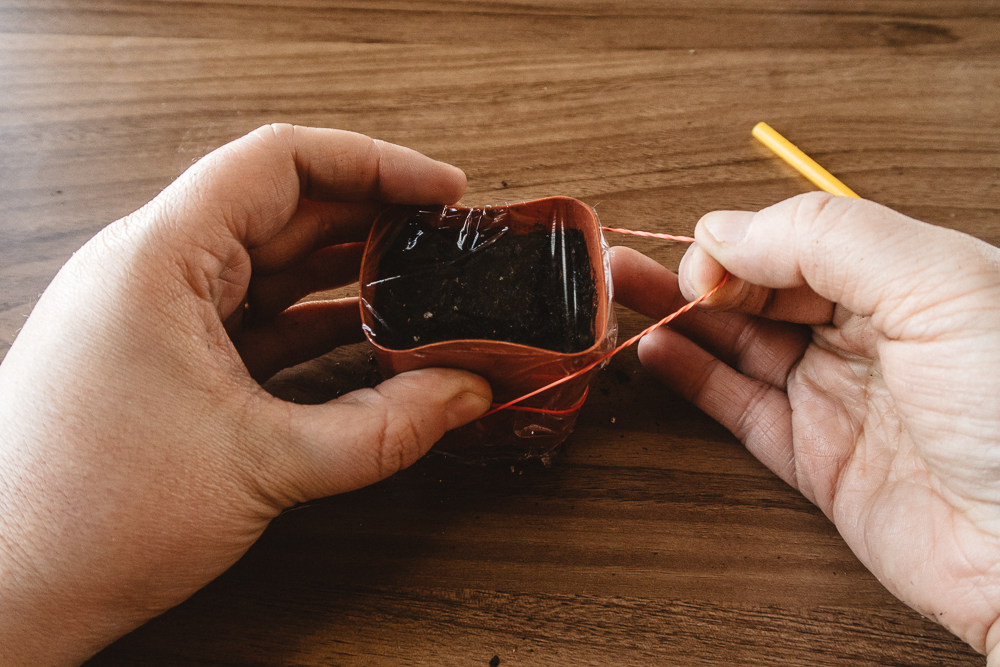
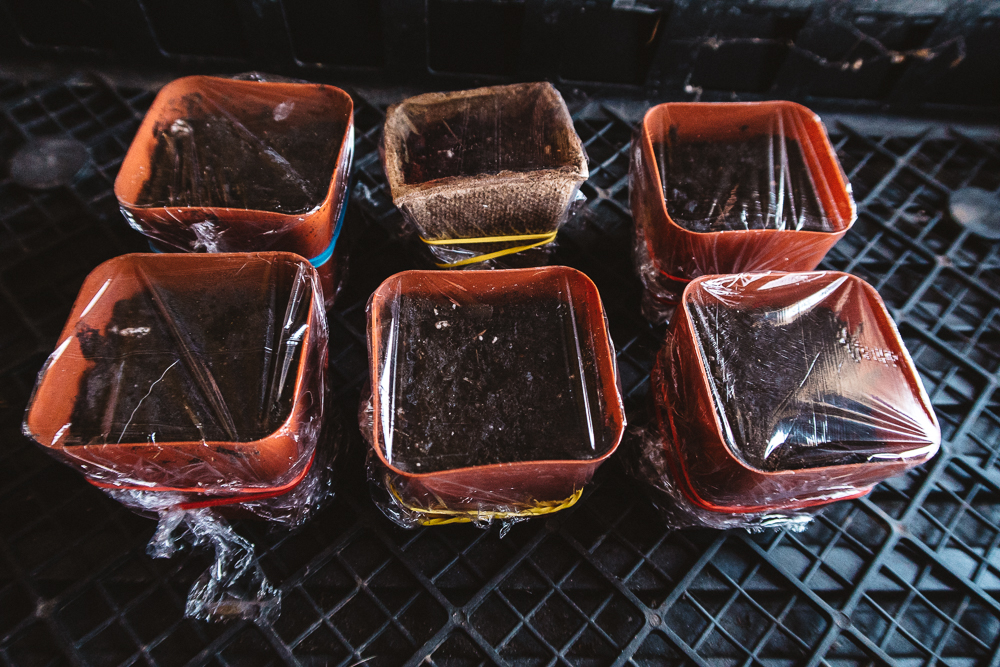
Once you have all of your seeds in their new homes, it’s time to mock a mini greenhouse. I cut three by three pieces of cling wrap and gently place them over the top of each pot and pull it taut. Using rubber bands, secure the wrap so that it will not move.
You can certainly try one of the seedling greenhouses you’ll find at every store this time of year, but I’ve had much better luck with this so I wanted to share!
Now all you need to do is put them in a nice warm place out of direct sunlight. I am old fashioned so I put the little buggers right next to the big radiator in our living room. The heat is evenly distributed and it works really well. I always have a large tray so to keep everyone in the tray happily germinating, I rotate it once a day.
You can always give one of those heat mats a try. I have yet to do so and since my method is already built into our home, I’ll stick with this for now. You’ll notice that moisture will form on the cling wrap - this is exactly what you want to happen! After about 5 days, start checking them frequently. As soon as you see your tomatoes growing out of the soil, get them under a grow light (I've had this one for years and love it!)
If you’re like Gram, you’ll give your sunniest windowsill a whirl. While this is fun, especially if you have kiddos, it often ends with spindly seedlings that have a tough time growing strong and viable stems. Either way, I hope you embrace the opportunity for some fun and enjoy your fresh, delicious tomatoes!