
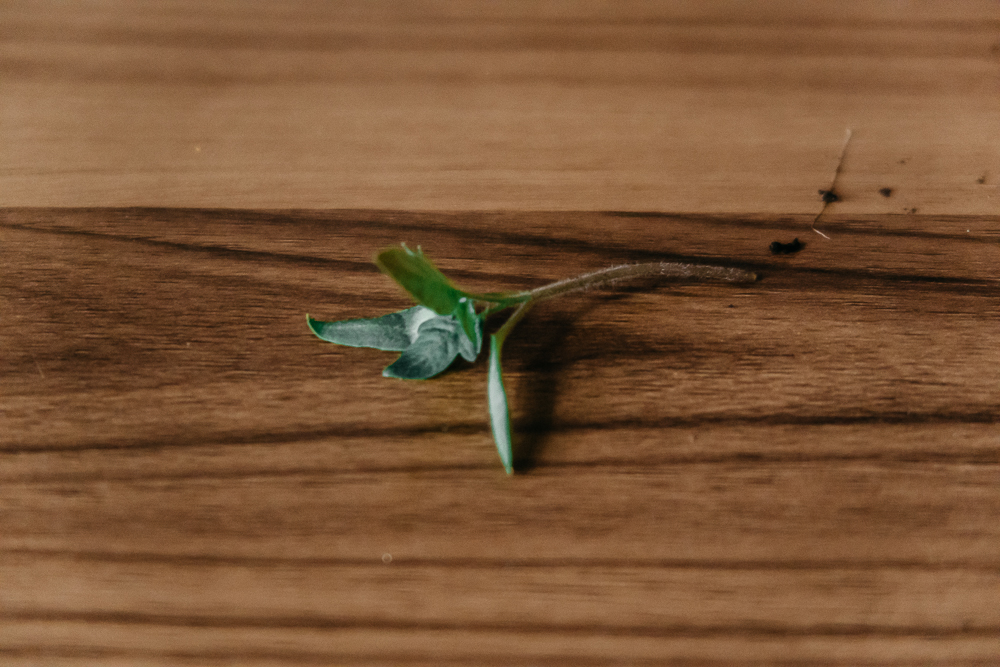
Preparing Young Tomato Plants for the Garden
This week I wanted to take a moment to revisit those adorable little tomato seeds that I planted a few weeks ago. After talking to some friends, it occurred to me that getting the seeds started is really the easy part. It seems that where a lot of folks struggle is when they are growing and you realize that you have to:
1. Keep them alive and
2. Prepare them for their next journey - moving to the garden.
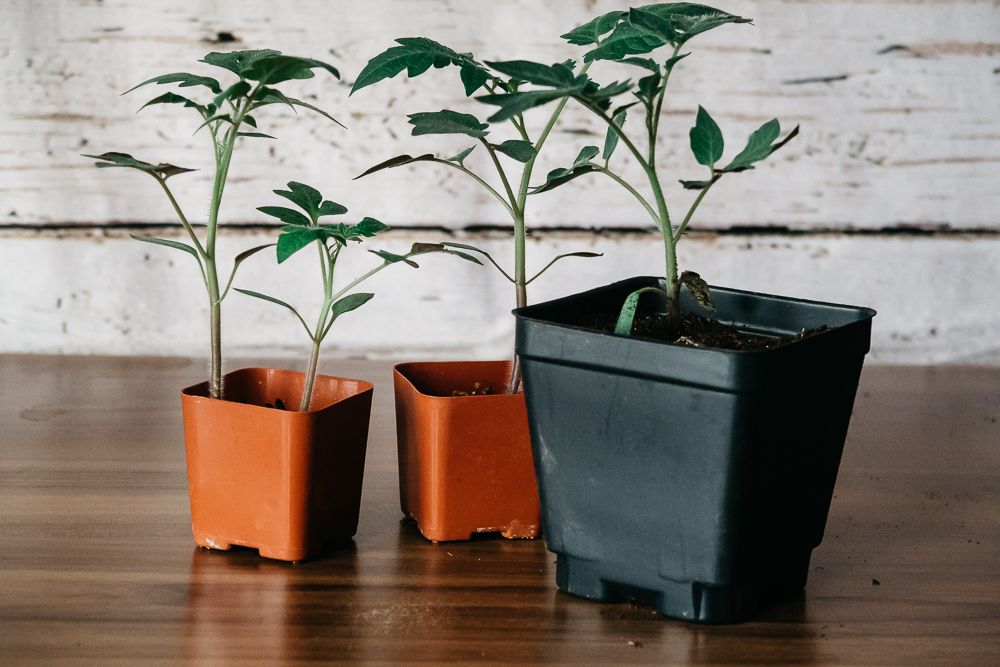
As you can see, with a bit of water, love, and the grow light, my sweet little tomatoes are rapidly growing into bright green teenagers (they grow up so fast!). In fact, I probably should have divided them before now, but I’ve had the bathroom remodel, a three week long cold and a small back injury interrupting my garden life.
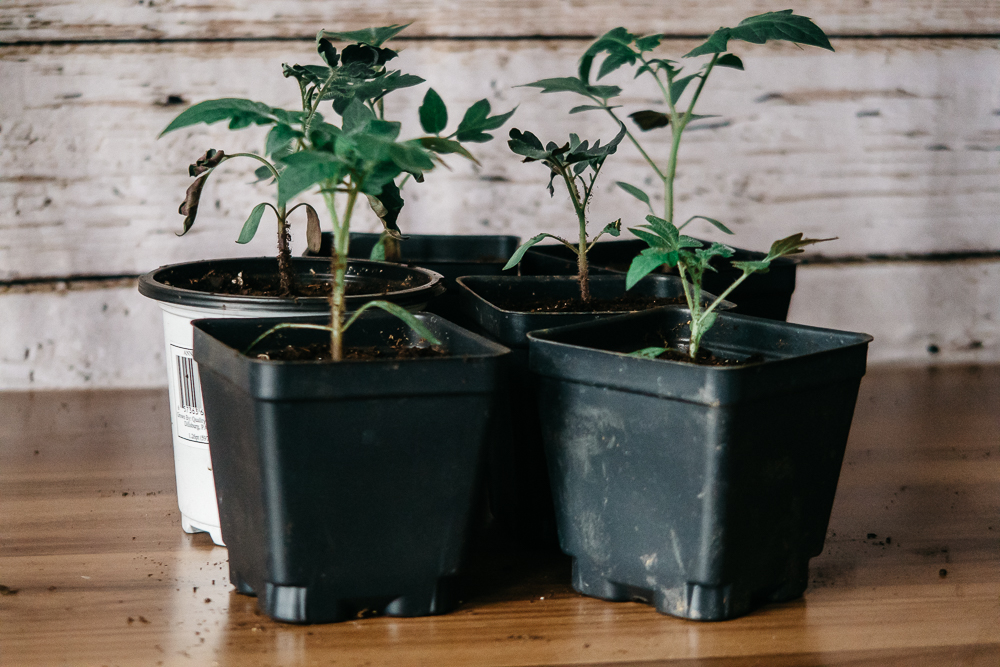
Transplanting to Larger Pots
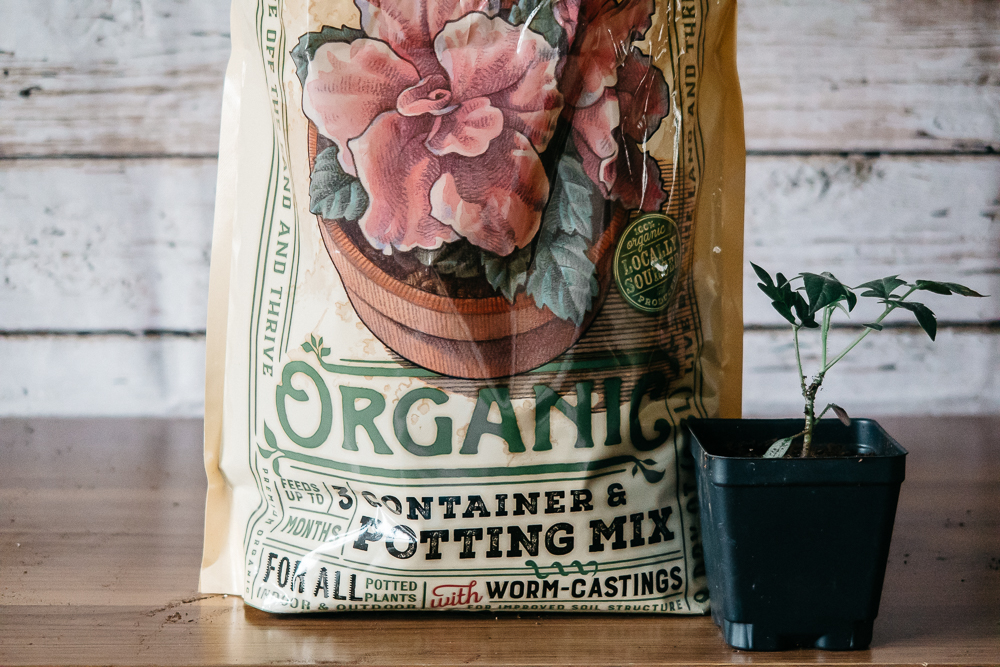
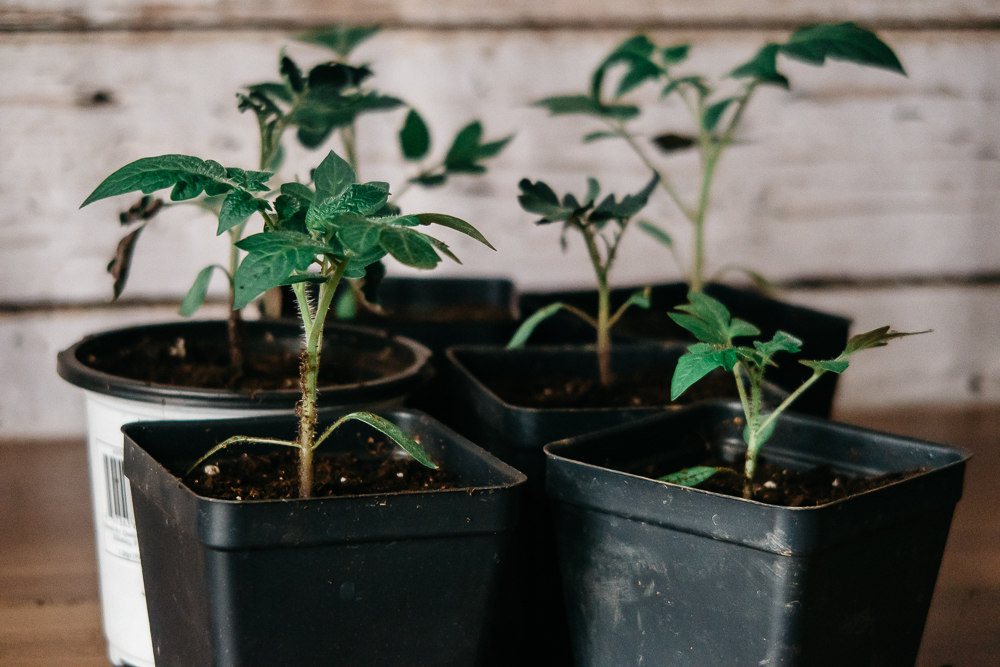
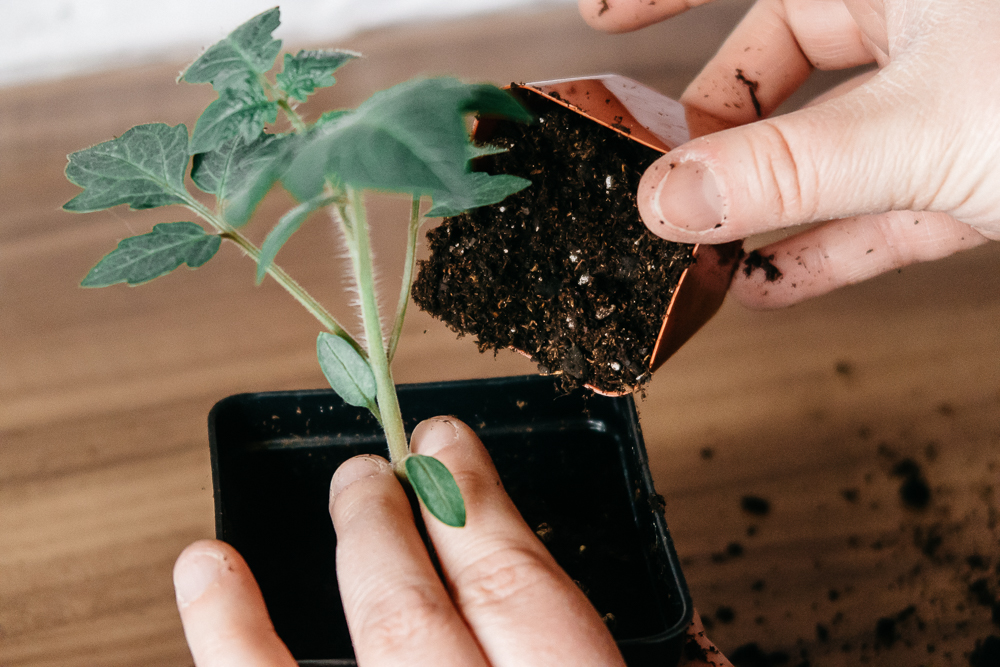
Once the tomato seedlings grow true leaves, you’ll want to start planning their next adventure of moving to larger pots. I usually go with a three or four-inch pot. You can certainly use a larger pot if you have the room, but these have always done the trick for me and give my plants enough room to grow up a bit more.
Heirloom tip: every flowering plant, fruit plant, and veggie plant you pick up at a nursery comes in a cute little pot. Save them! They are a huge help when it comes to growing your own plants. I keep mine in the garage when I’m not using them. It’s one less thing to spend money on and one less thing ended up in a landfill (if you don’t, won’t or can’t recycle).


Moving your tomato plants to larger pots is very simple. Here’s what you need to do:
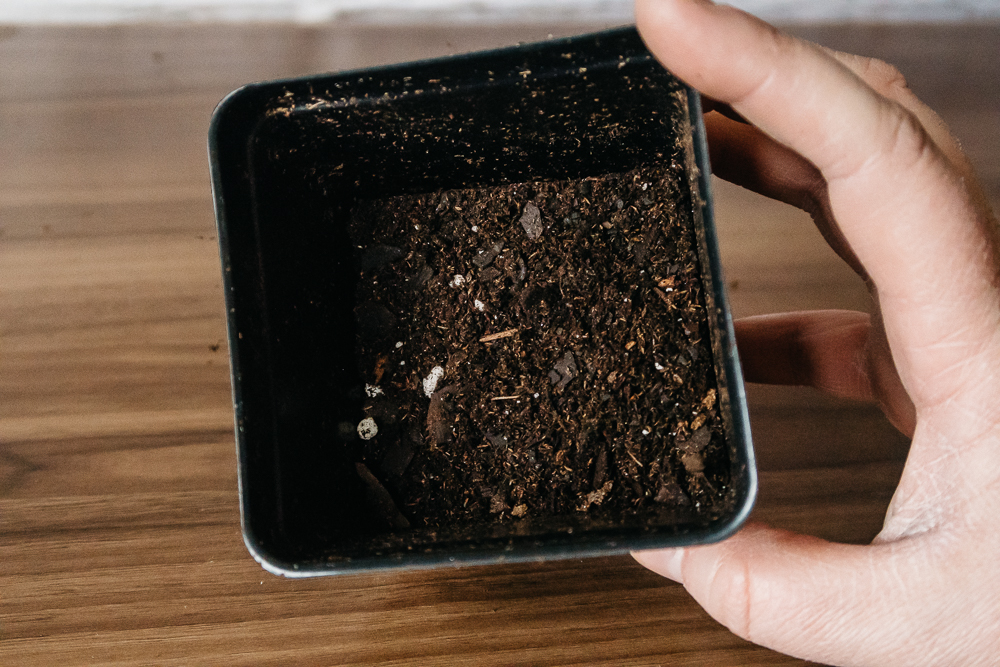
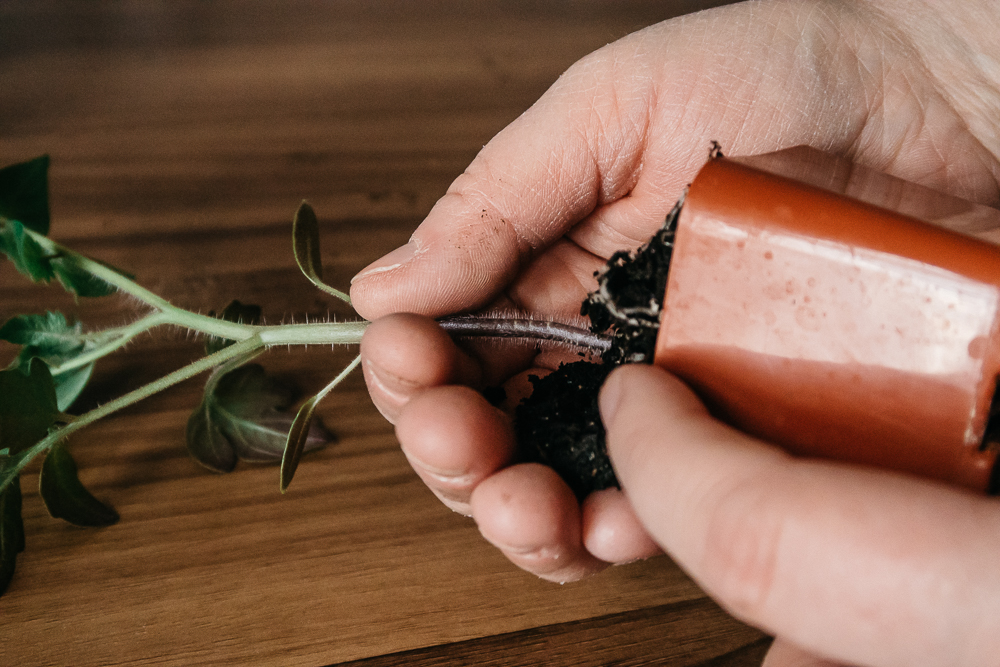
- Fill the larger pot about 1/3 of the way full
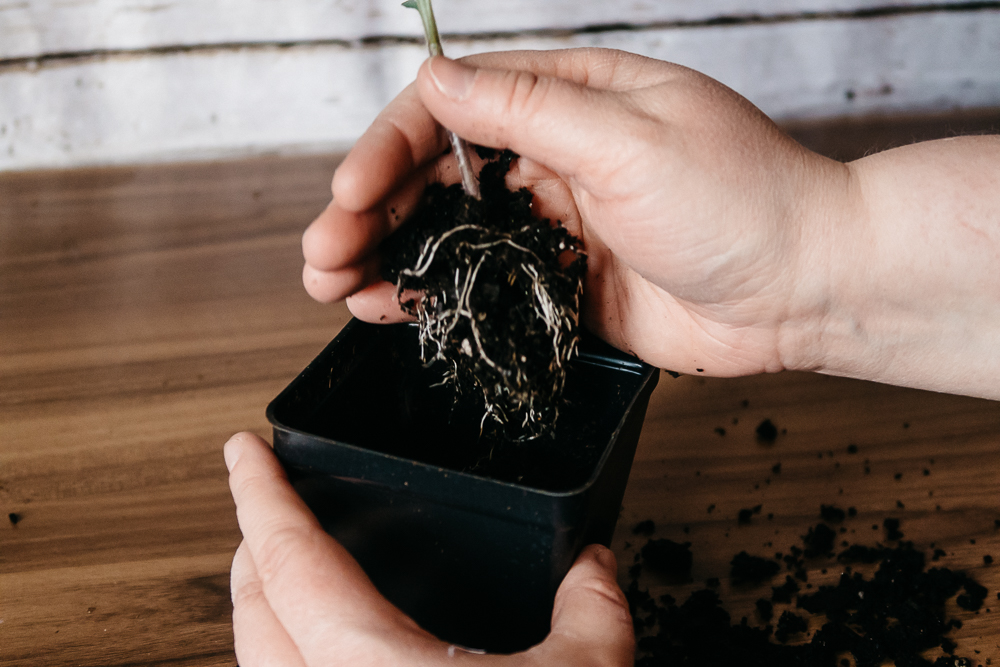
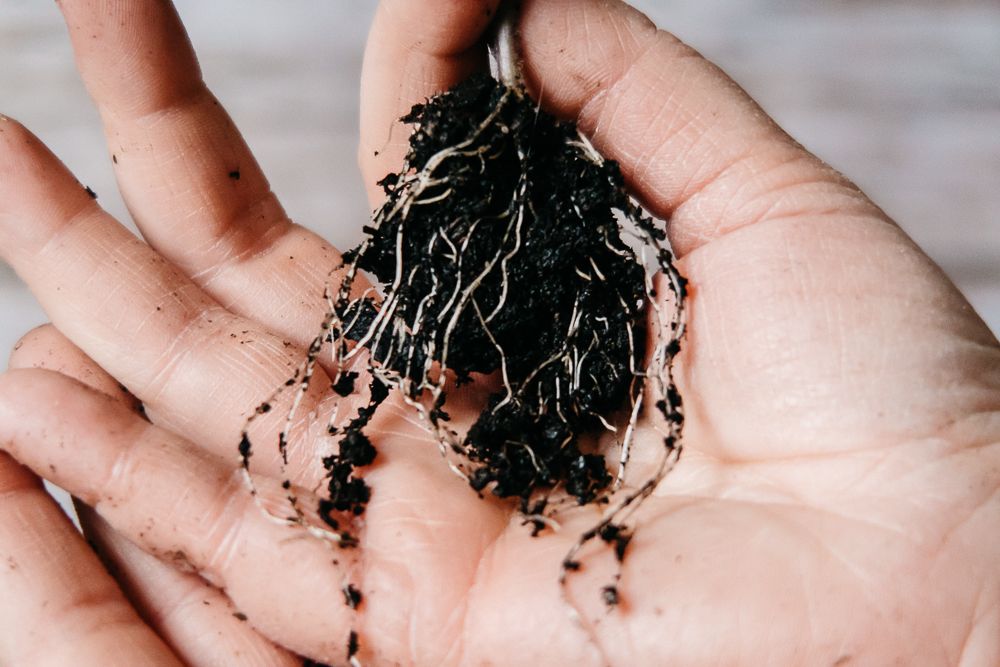
- VERY gently get the seedling out of the pot. This is very important - their roots are very delicate and you want to minimize the amount of trauma they go through during the process of removal. I carefully squeeze the potting cell to loosen the soil.
- Make an indentation in the soil for your plant and intact soil to fit into.
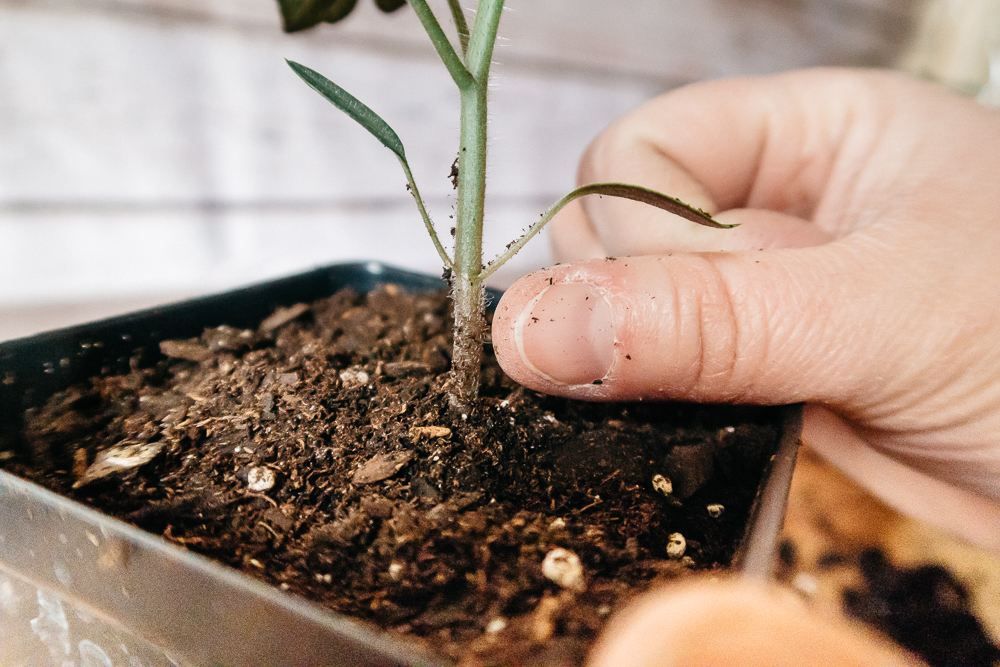
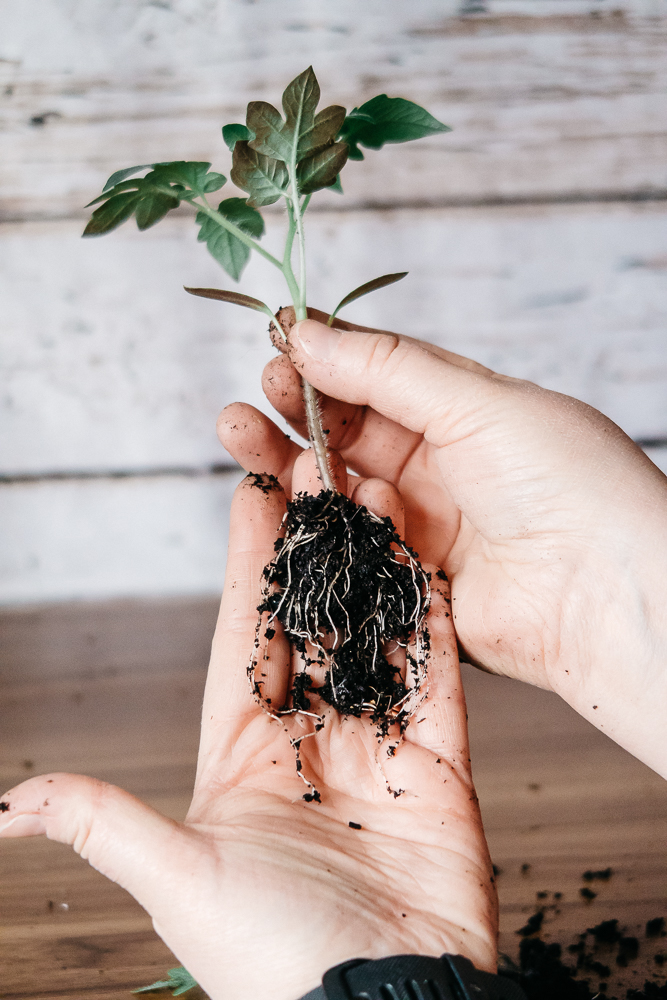
- Place both down into the pot. The idea is to plant it deep enough that you are about a thumb’s width below the plant’s first leaves with the soil line.
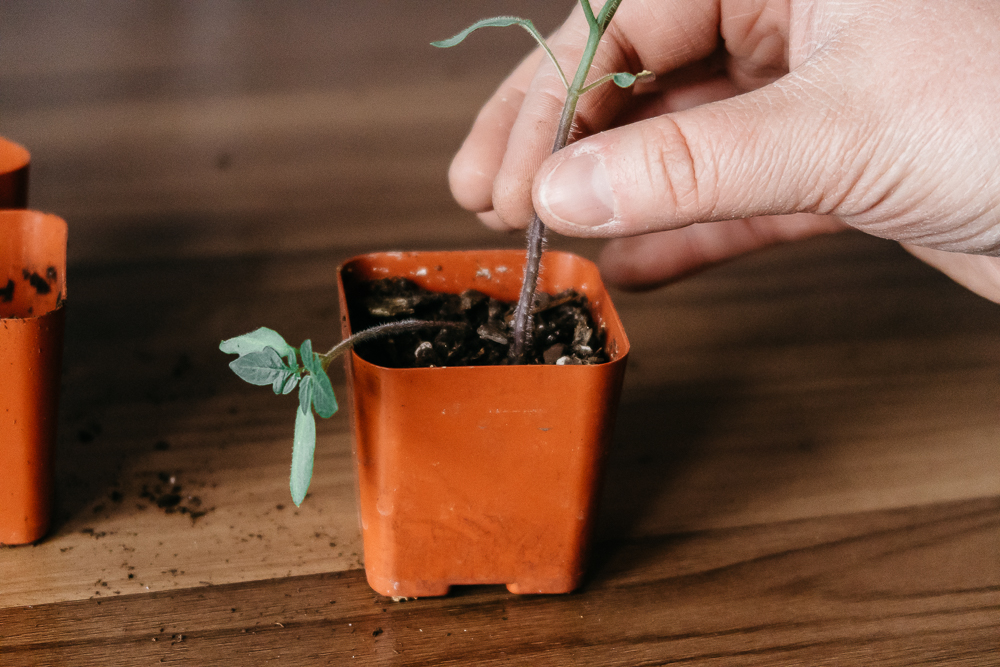
You might be thinking, “Why on Earth would I bury half the plant I’ve worked so hard to grow?”
The answer is simple - stronger roots! When you bury part of the plant’s stalk, you are encouraging it to expand its root structure. More roots equal a strong root system and a stronger root system means you’ll have a beastly strong plant. I really think doing this is the reason my tomato plants are so massive and productive every year.
Now, back to the process:
5. Once you have your plant in its new home, fill in with potting soil and gently tamp down.
6. Water the little guy and place it back under the grow light to continue growing.
Easy, right? Let’s talk about what happens when one tomato germinated a long time ago and now all of a sudden, another seedling has started growing.
If I have enough tomato plants, I usually am sure to thin out the stragglers. I do so by cutting or pinching off the stem at the soil line. Leaving the roots in the soil provides additional nutrients for the stronger plant.
Otherwise, you’ll want to keep up on watering and caring for your plants. It may sound crazy, but once a day I run my hands gently over the tomatoes. This emulates wind and prepares them for the hardening off process that comes next. Speaking of which, I wanted to be sure to discuss “hardening off.”
How to Harden Off Tomato Plants
Hardening off is your plants final (and the most crucial) step before they go romping out into the real world, or the garden as most of us call it. It’s the process of preparing the plant to withstand the elements: sun, wind, precipitation and the various temperatures. To sum it up, you’re weaning them off of your warm, safe house.
Seven to ten days prior to moving them to the garden, you’ll want to start taking your tomatoes outside for a few hours a day. It is crucial that they are protected from direct sunlight at first, they will get sunburnt. You also don’t want to put them where they will be exposed to harsh winds, ice, rain, etc. I always put mind up against the house on our covered front porch. Each day, depending on how they are doing, I’ll up the amount of time they spend outside. If I know we are going to have miserable weather, I’ll hold up or skip days. We all know how moody Mother Nature can be during a Pennsylvania Spring.
I normally transplant my tomatoes to the garden at the end of May, when the danger of frost has passed and the soil is a steady 60+ degrees. Some folks gauge it by the size of the tomato, transplanting them when they are around eight inches tall. Do what you feel most comfortable with, even if it means moving them again to a larger pot. I’ve done this many times, especially when it just doesn’t seem to be warming up.
Hopefully, this provides some additional guidance for my greenhorn gardening friends! If you have any questions or want to chat a bit more about my experiences and what I have run into, please feel free to email me at theheirloomlady@gmail.com or comment below! Happy growing!