
The Perfect Outdoor Planter in Three Easy Steps: Thriller, Filler, and Spiller
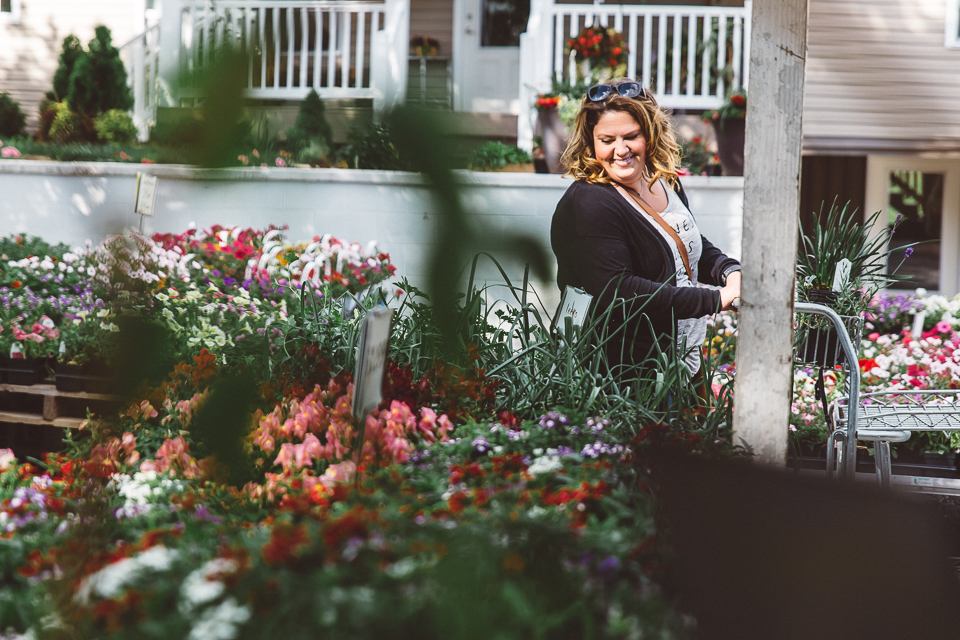
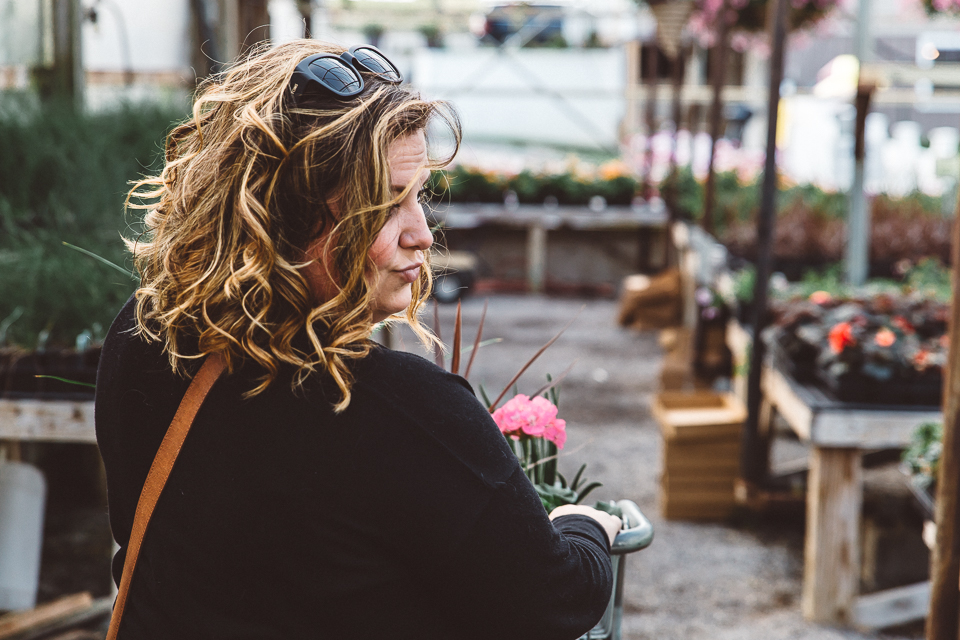
It’s summertime. The grass is lush, the birds sing sweet melodies, and you're counting down the hours until the lightning bugs make their journey to light up the warm night sky. But first, you go on leisurely after-dinner strolls around town, sweetheart or dog in tow. It's then that you begin to notice that folks around town have these elaborate planters overflowing with colorful, lively plants everywhere you look.
It's bad enough that they are actually keeping them alive, but then they are all perfectly placed throughout their flawlessly coiffed lawns and dotted amongst their pristine landscaping. I don’t know about you, but I immediately start having thoughts about how they MUST be retired. They must not have anything else to do other than to show up the rest of us that can barely keep their lawns mowed. Know what I'm saying?
That HAS to be the only way they have time to craft those arrangements that look like they are fresh off the cover of a Better Homes and Gardens magazine. This is about the time my husband says something like, "You could do that!" or, "Stop talking about it and just do it!" He's right (once in a while). Shame on me for making those assumptions…and shame on me for never having tried to craft my own perfect planter before now.

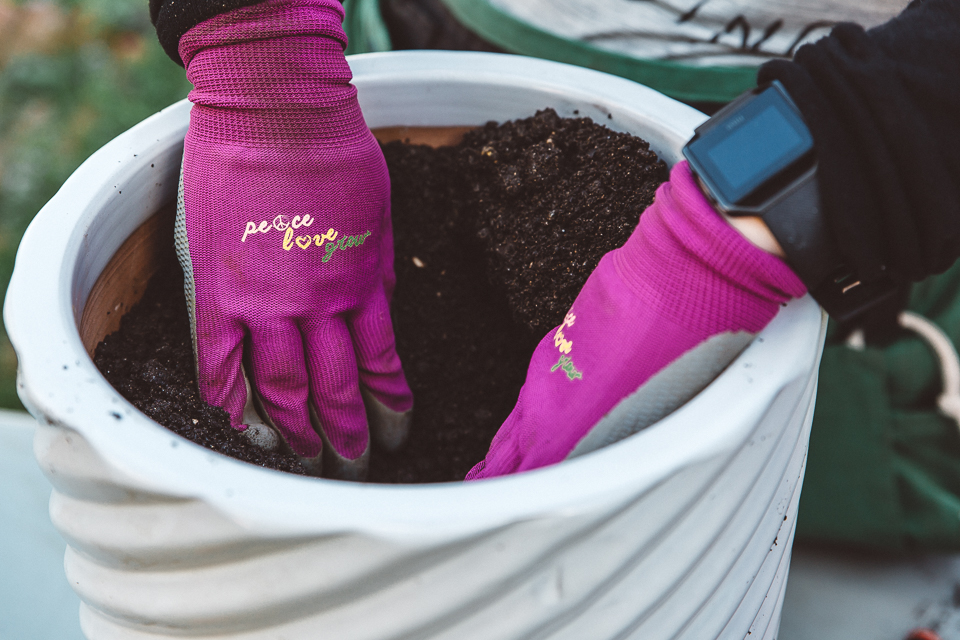
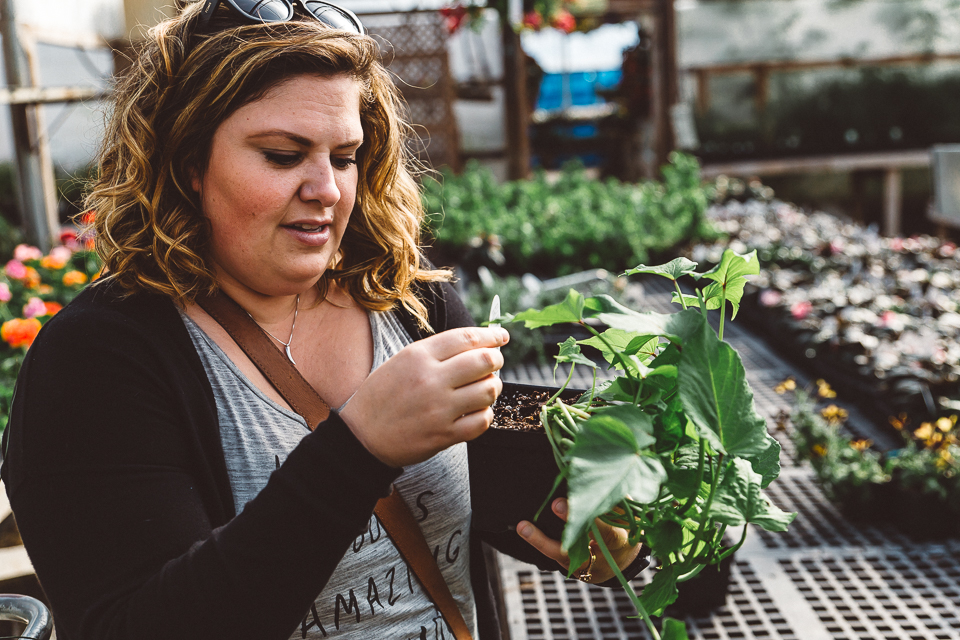
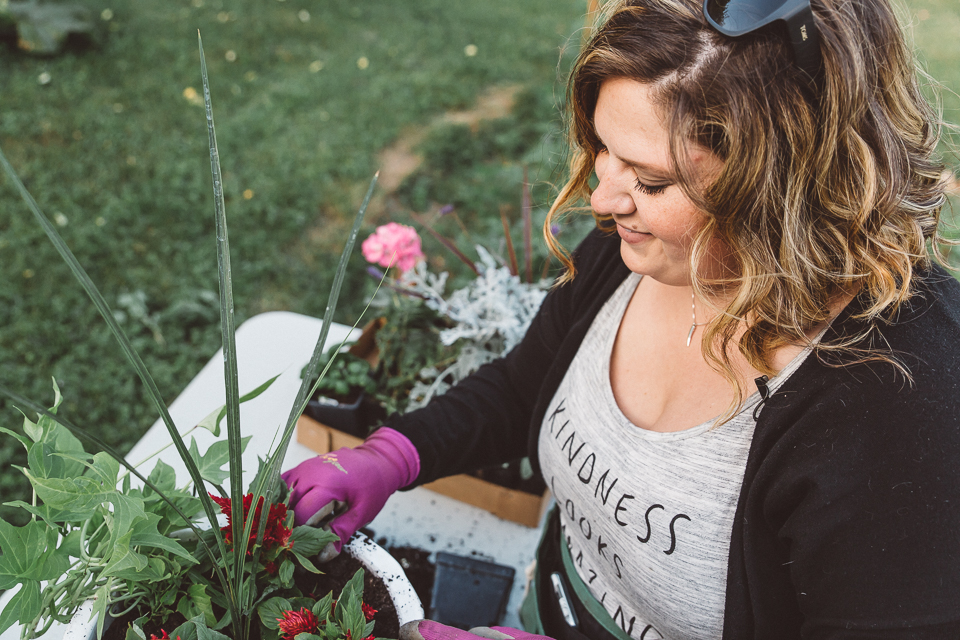
I recently learned the easiest trick to creating the perfect planter and it only takes three steps! Thriller, Filler, and Spiller! That's all you need to know! Once you have your planter and soil ready to go, here’s what you need to do:
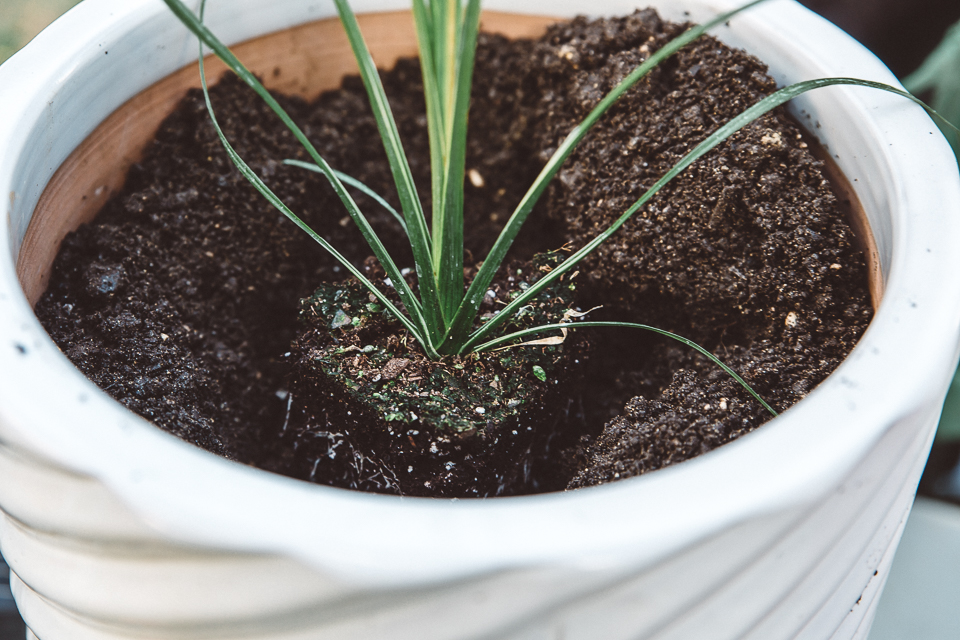
Step One: The Thriller: This is where you’ll start. You want to look for a tall, simple plant that will give your arrangement some height. I chose a spike plant because they are fun and continue to grow throughout the season. Plus, they are resilient and easy to care for, and Lord knows that’s what I need. Your thriller, whatever it may be, gets planted right in the center of your planter.
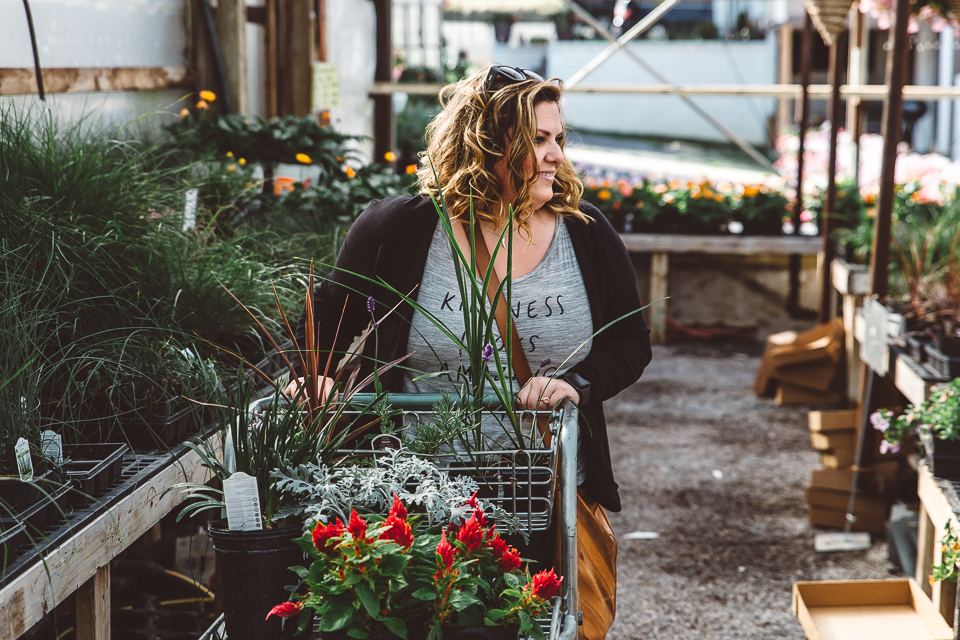
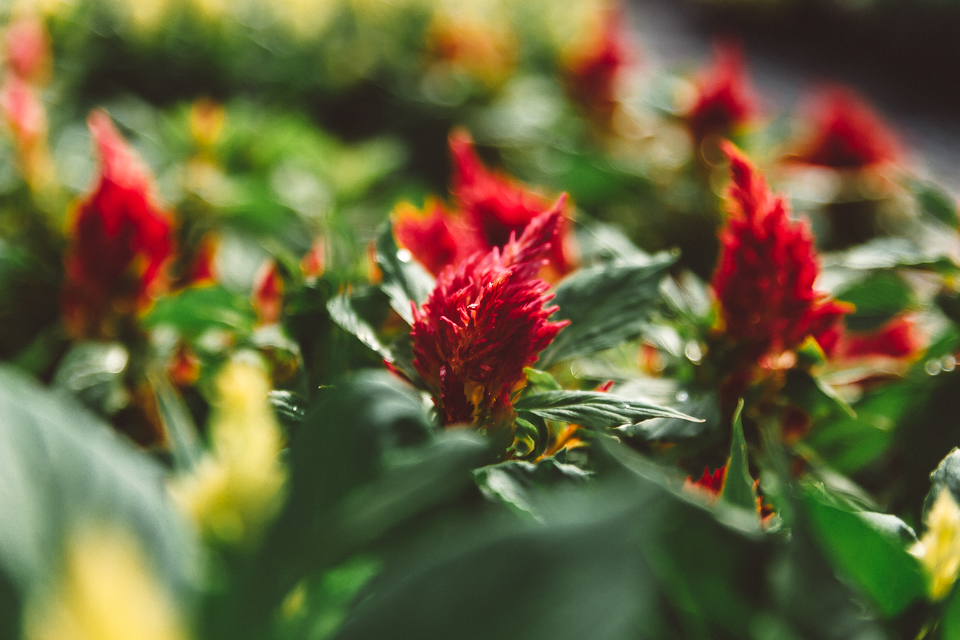
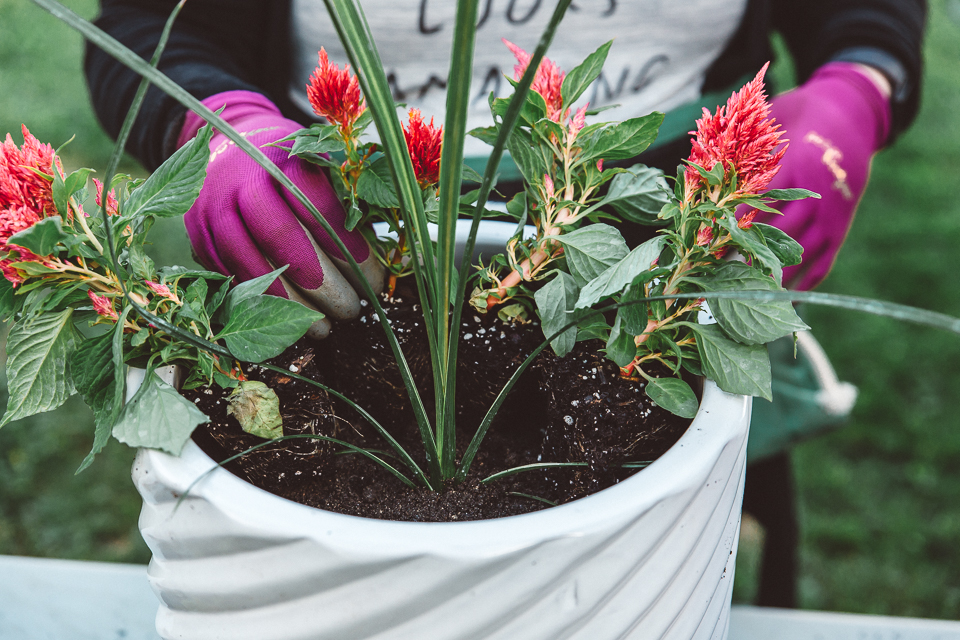
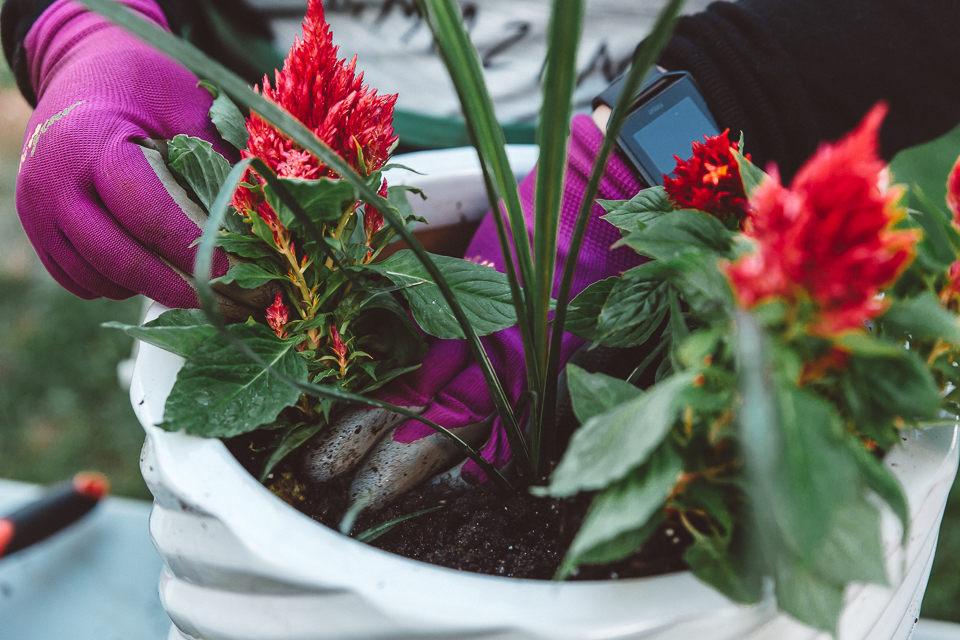
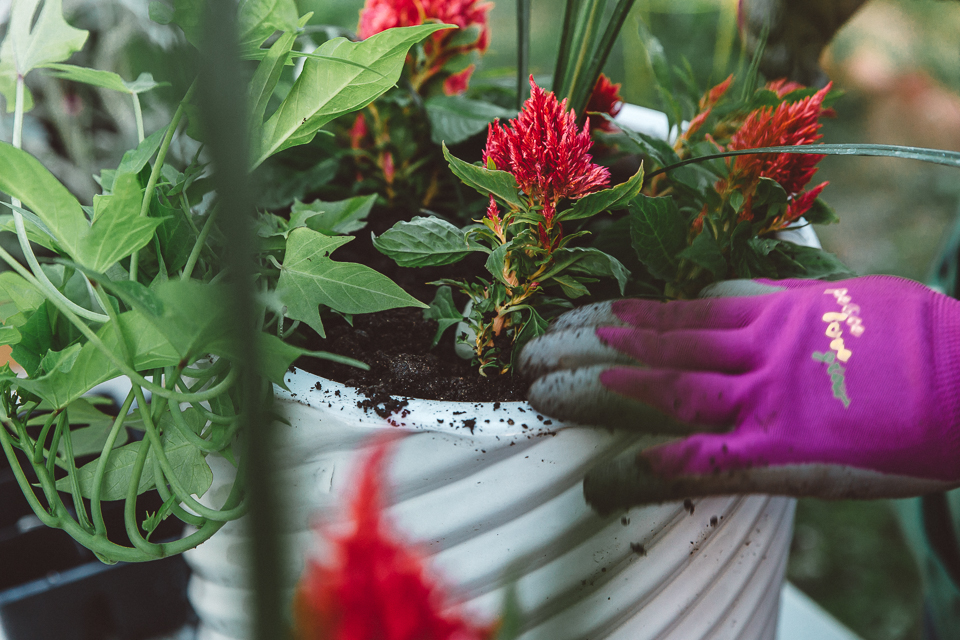
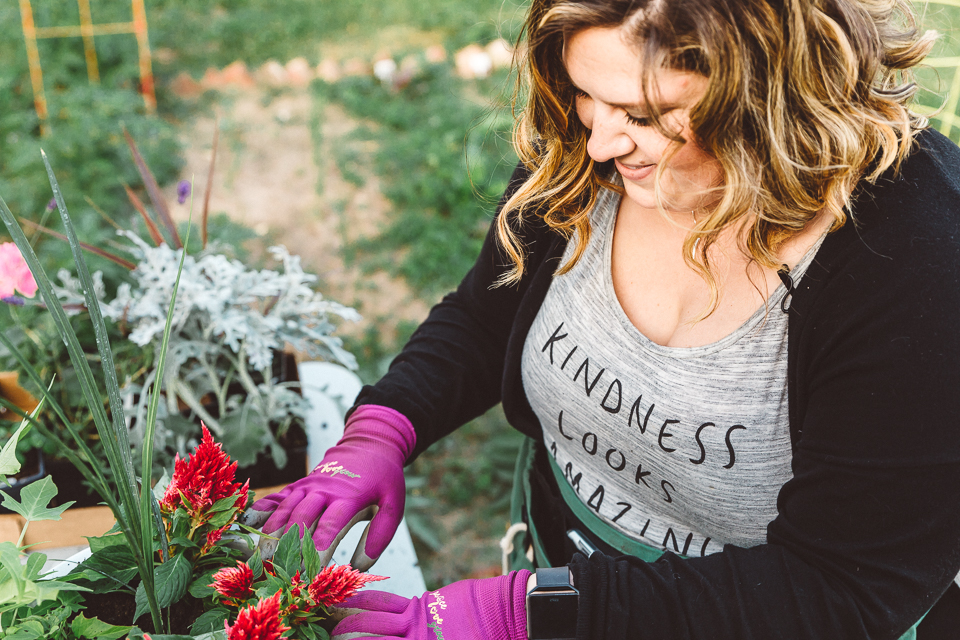
Step Two: The Filler: It’s exactly what it sounds like, you need to start filling in around your thriller. You’ll want something colorful that will stand out. If you are planning to put the planter amongst your current landscaping or on your porch to accent the existing landscaping, be sure to choose a filler whose color complements the rest. I have pink and white hydrangeas in front of my house, so I selected hot pink celosia plants for my fillers. They are stunning and add the perfect pop to my otherwise plain planters.
Step Three: The Spiller: This is my favorite because it’s where the creativity of your arrangements really gets to shine. The spiller is going to do just that, spill over your planter. The idea is to choose something bright and flowy that will soften your otherwise rigid planter, making it seem as though nature has taken over. For me, it adds a sense of controlled whimsy and magic that is sure to WOW all those retired folks that are on their evening strolls! Don’t be shy when choosing your spiller, there are so many different options. This year I selected sweet potato vines since they are a brilliant lime green that really brings the entire arrangement together, sealing the deal on the perfect planter!
Brightening the front of your home is really as simple as 1, 2, 3! And how easy is it to remember the three components of the perfect planter? Thriller, Filler, and Spiller!
Feel free to tag your perfect planter using #theheirloomlady on social media. I’d love to see your creations.
Also, check out my video so you can see how easy it is in real life!